A Summer Hat
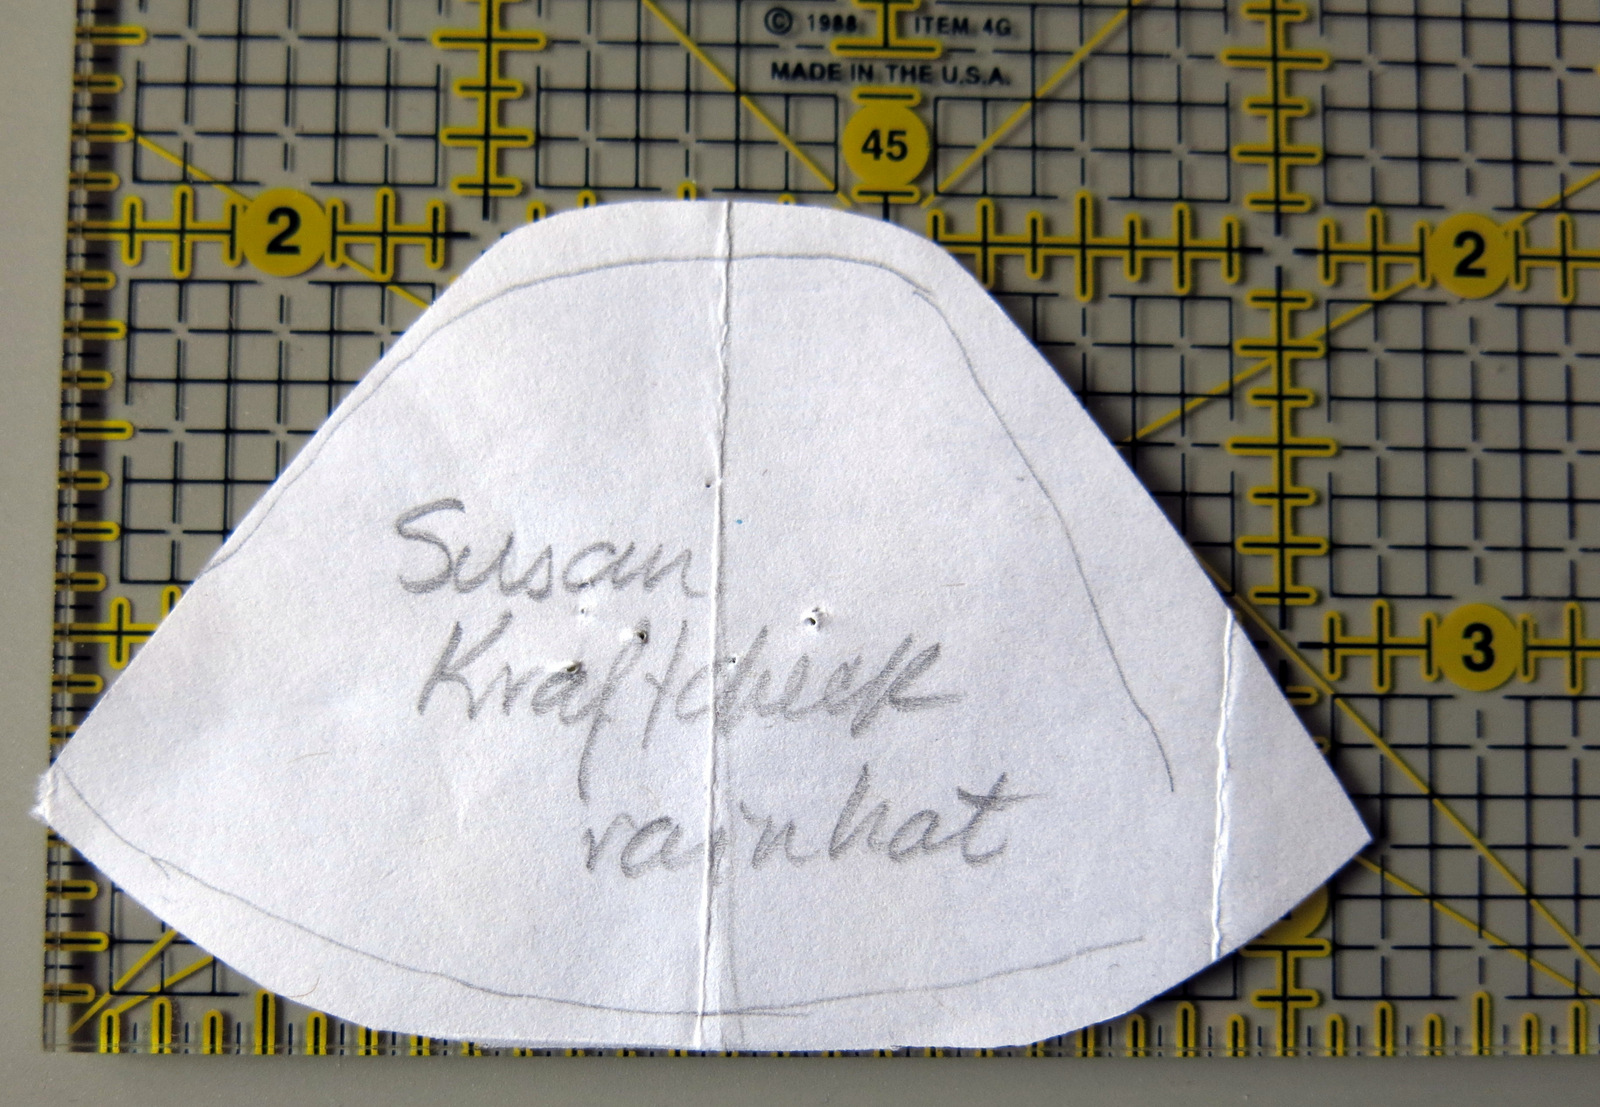
Pattern
A few Hitty friends wanted to know how I made Agathe’s new summer hat so here is an explanation: I made a pattern from a rainhat that I received from a Hitty friend, who has given me permission to share the pattern and the process.
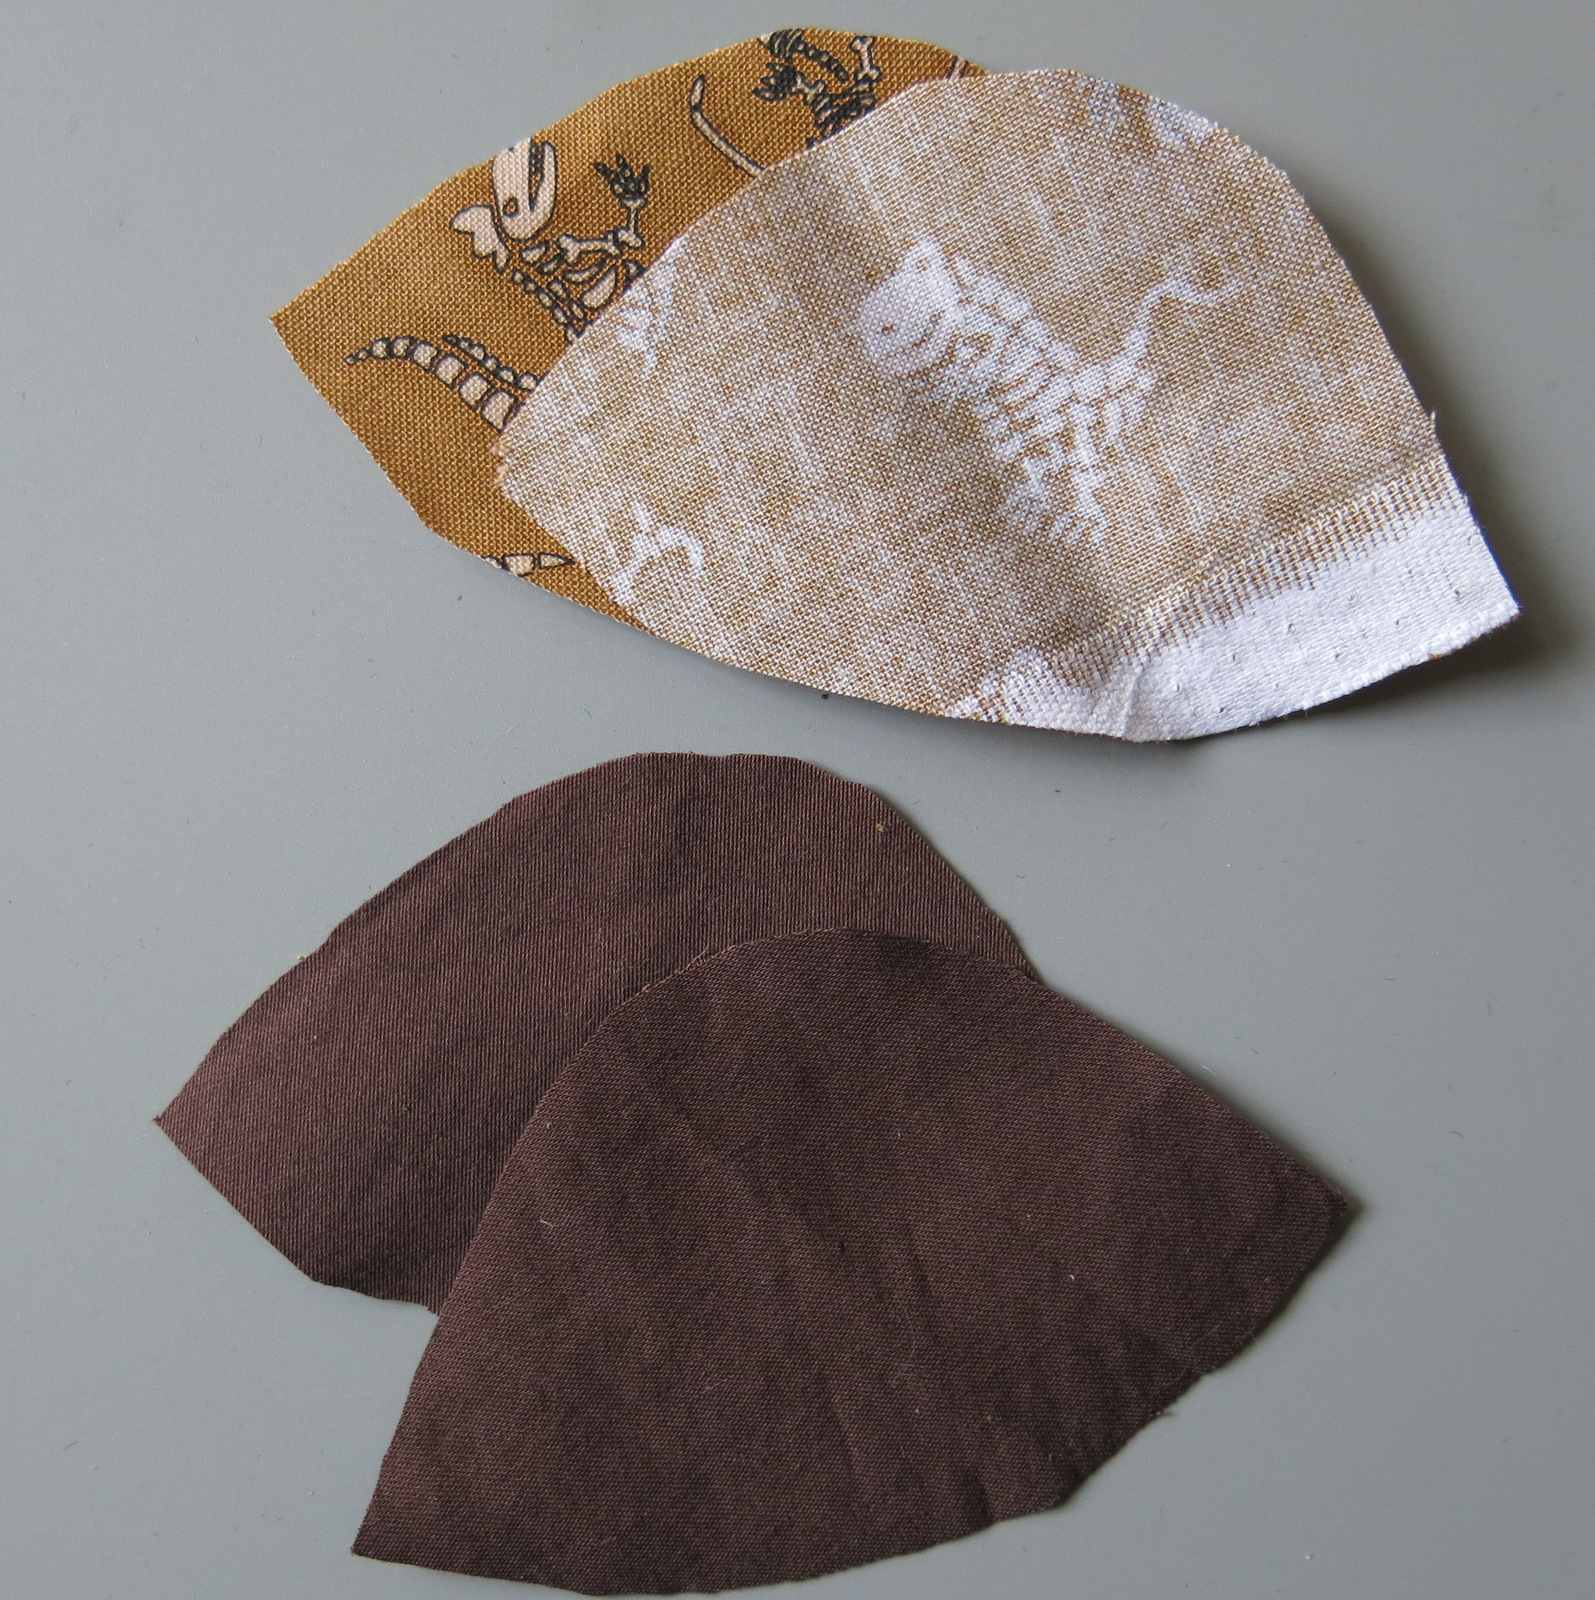
Cut Two of Each
I selected my hat fabric and a contrasting lining fabric, and cut out two of each.
.
.
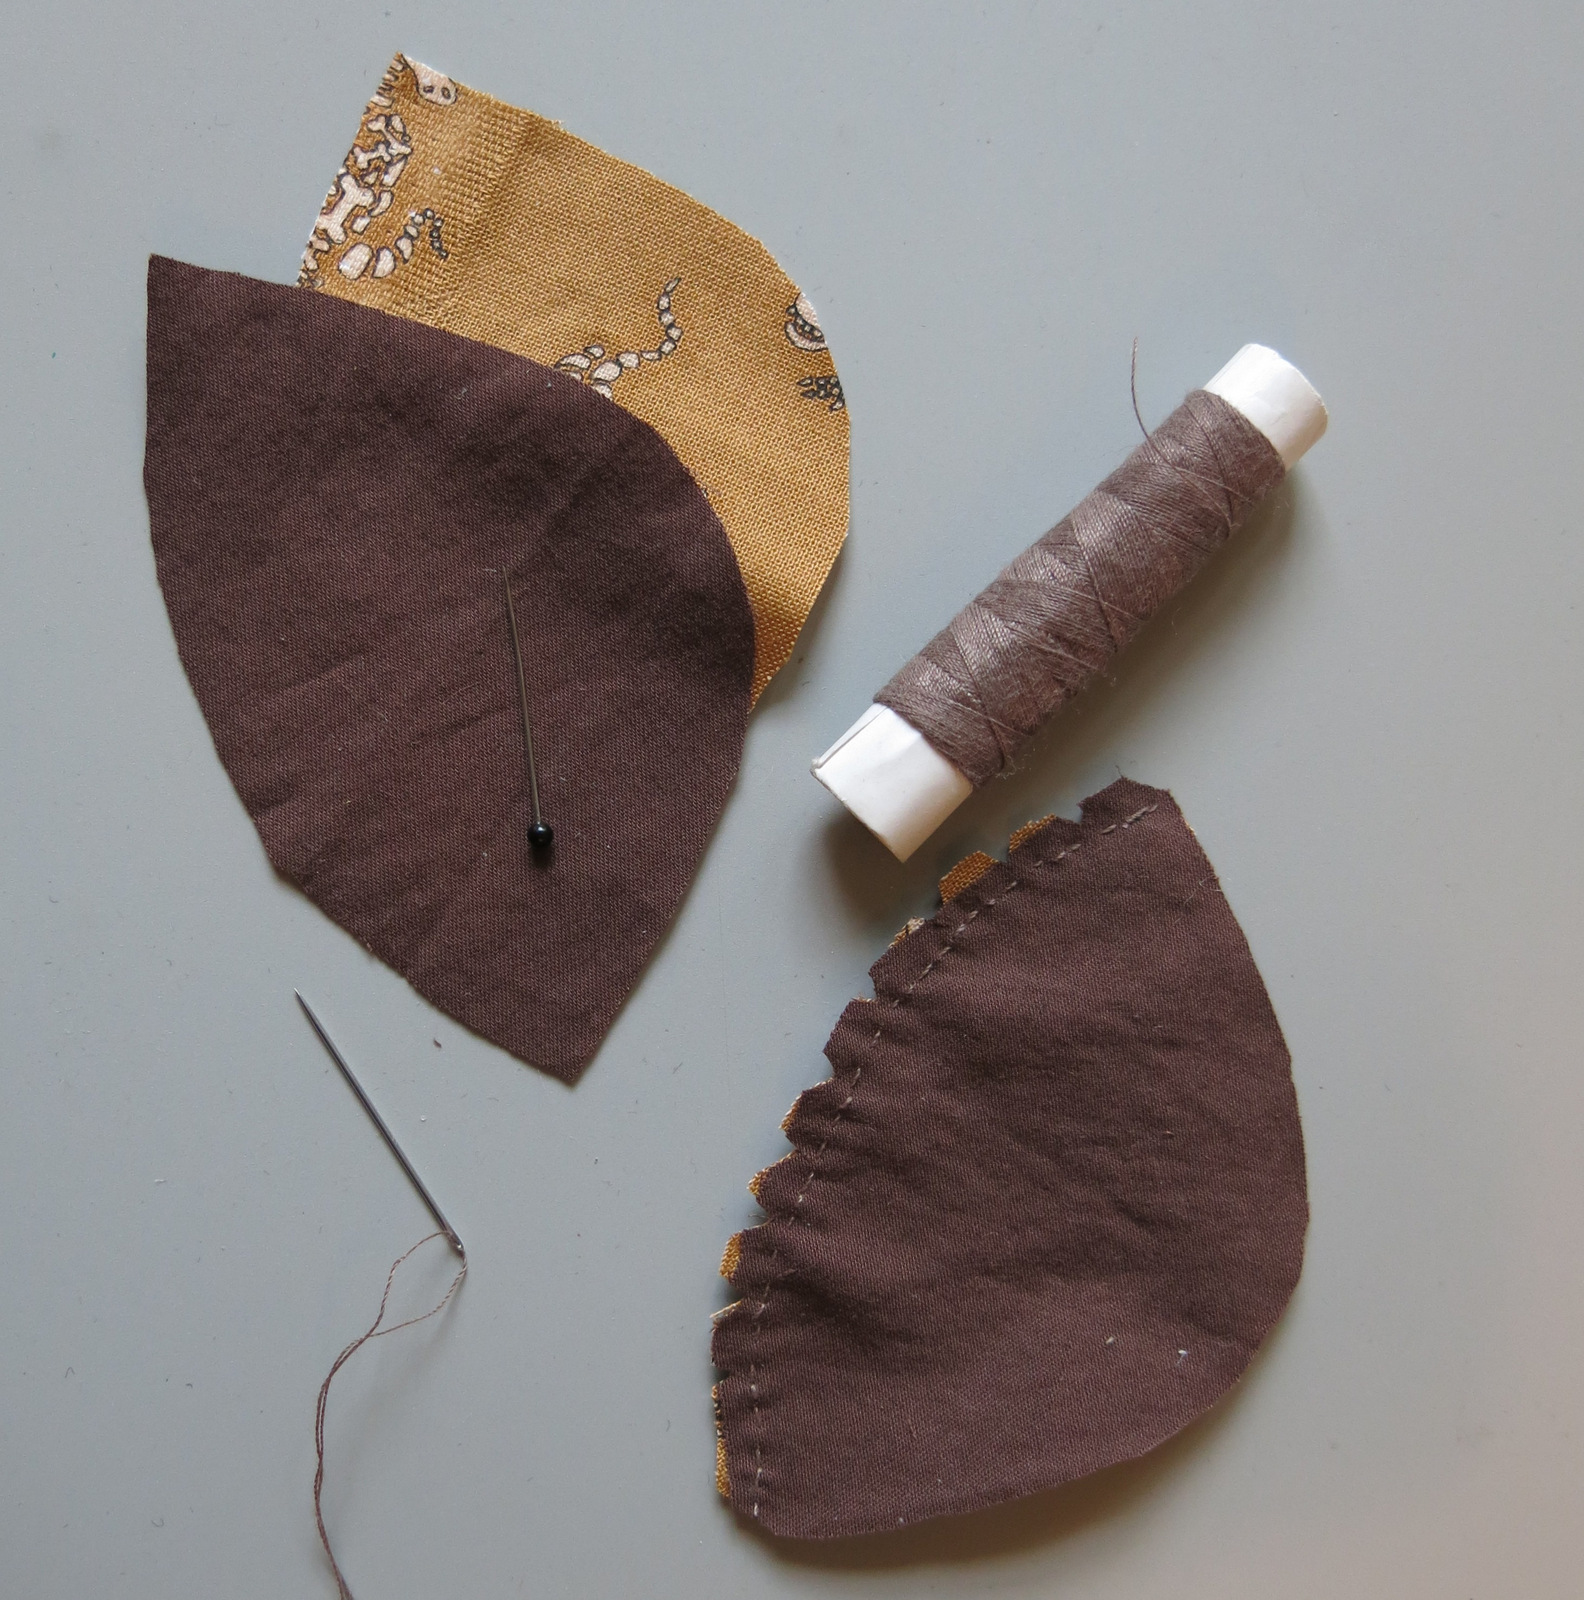
Sew, and clip
The shape of the pattern has two curved edges.
Place one lining piece on top of one main fabric piece, right sides together.
Stitch about 1/8 inch from the edge of the shorter shallower curve. Clip out little triangles from the seam allowance. Turn the fabric to the right side, and press.
Do the same with the other piece of main fabric and lining.
.
.
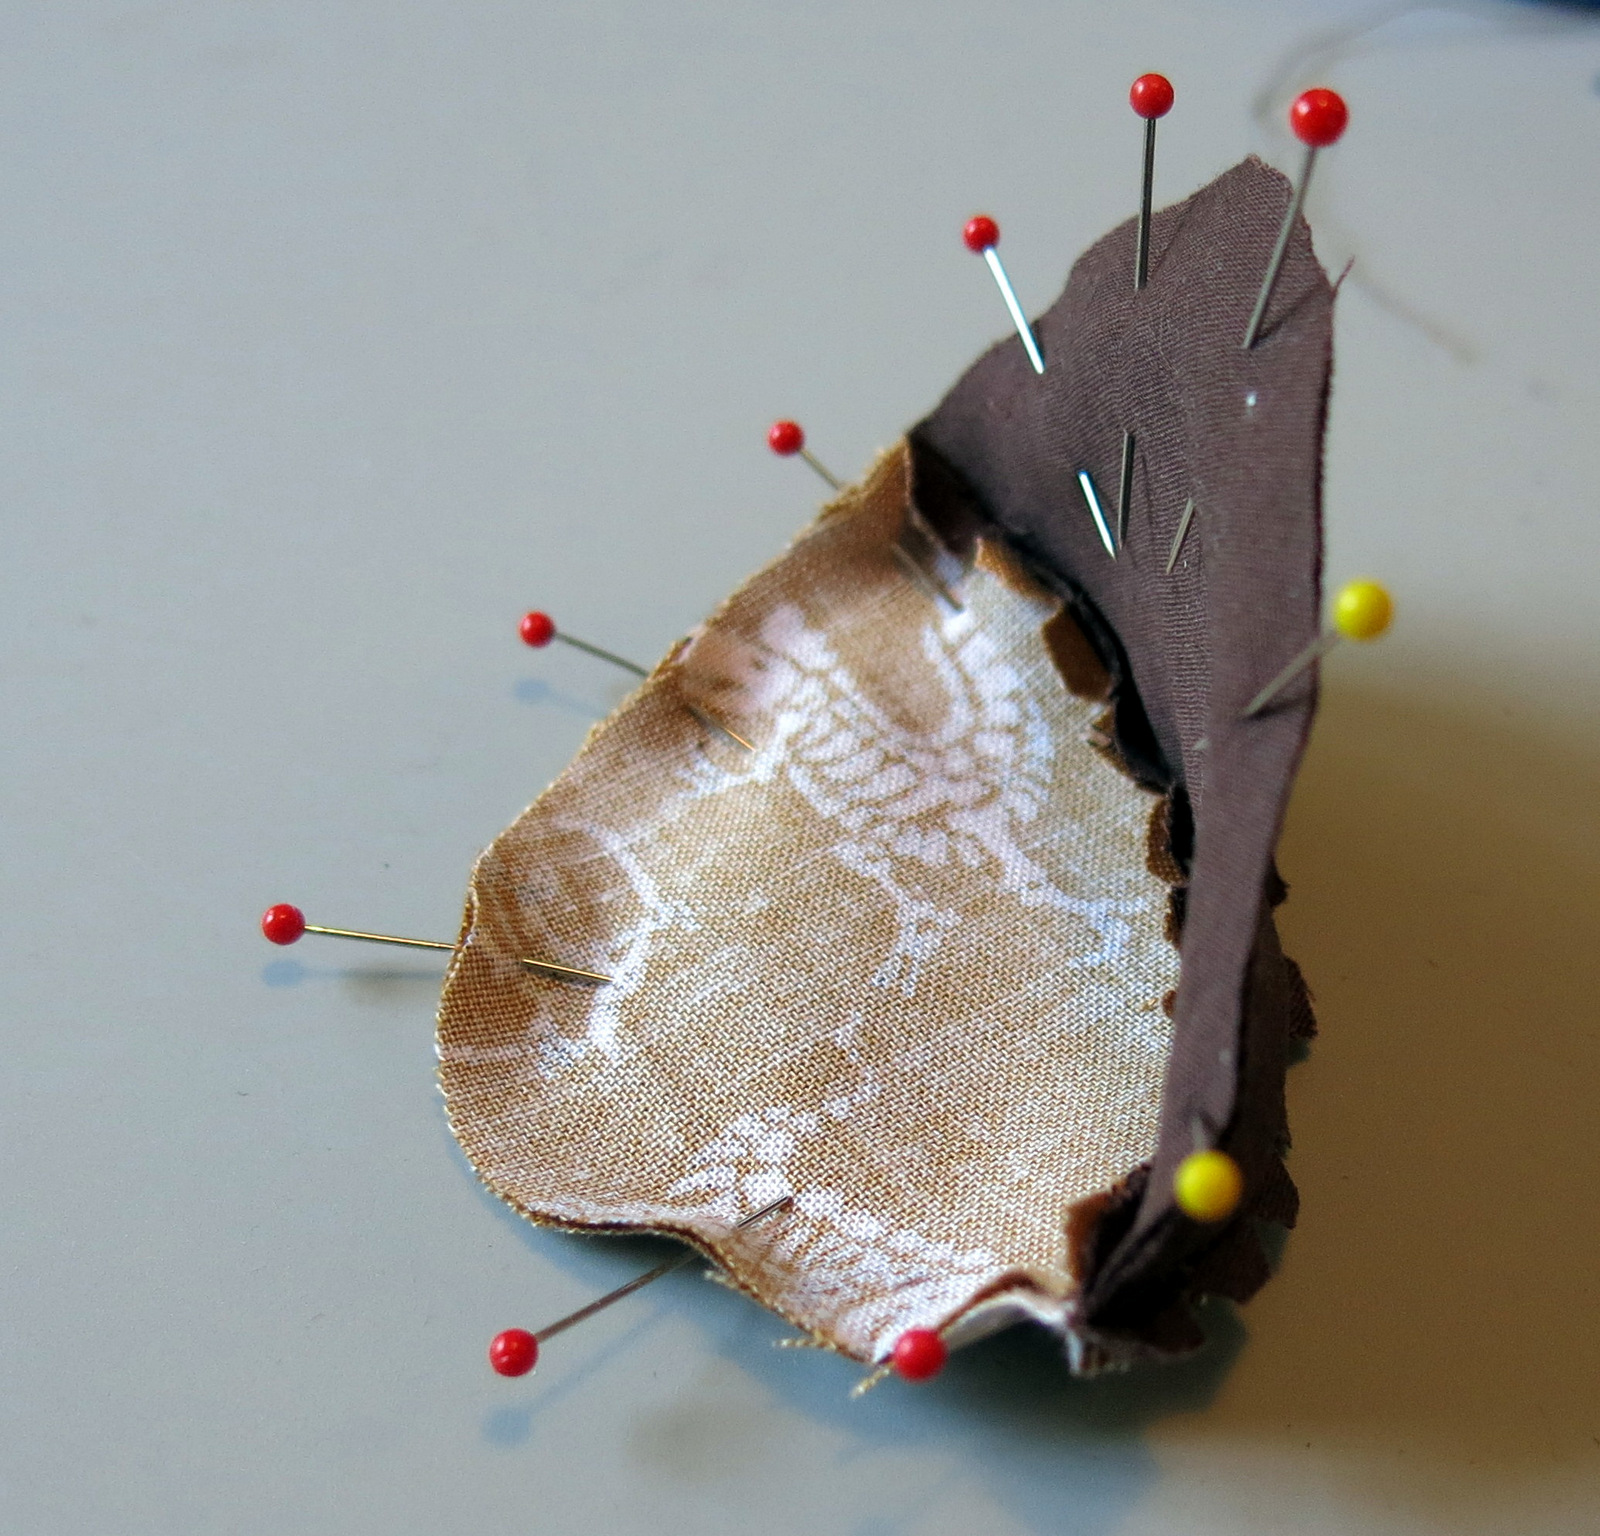
Leave open between yellow pins
Now put the two together with the right sides of the main fabric in contact with each other, and the right sides of the lining fabric together. Think of the pieces as making up the shape of a ball. If you imagine the ball is squashed, then one side is convex along the fabric/lining seam and one side is concave. Make sure the right sides are together! Match the seams carefully, and pin.
.
.
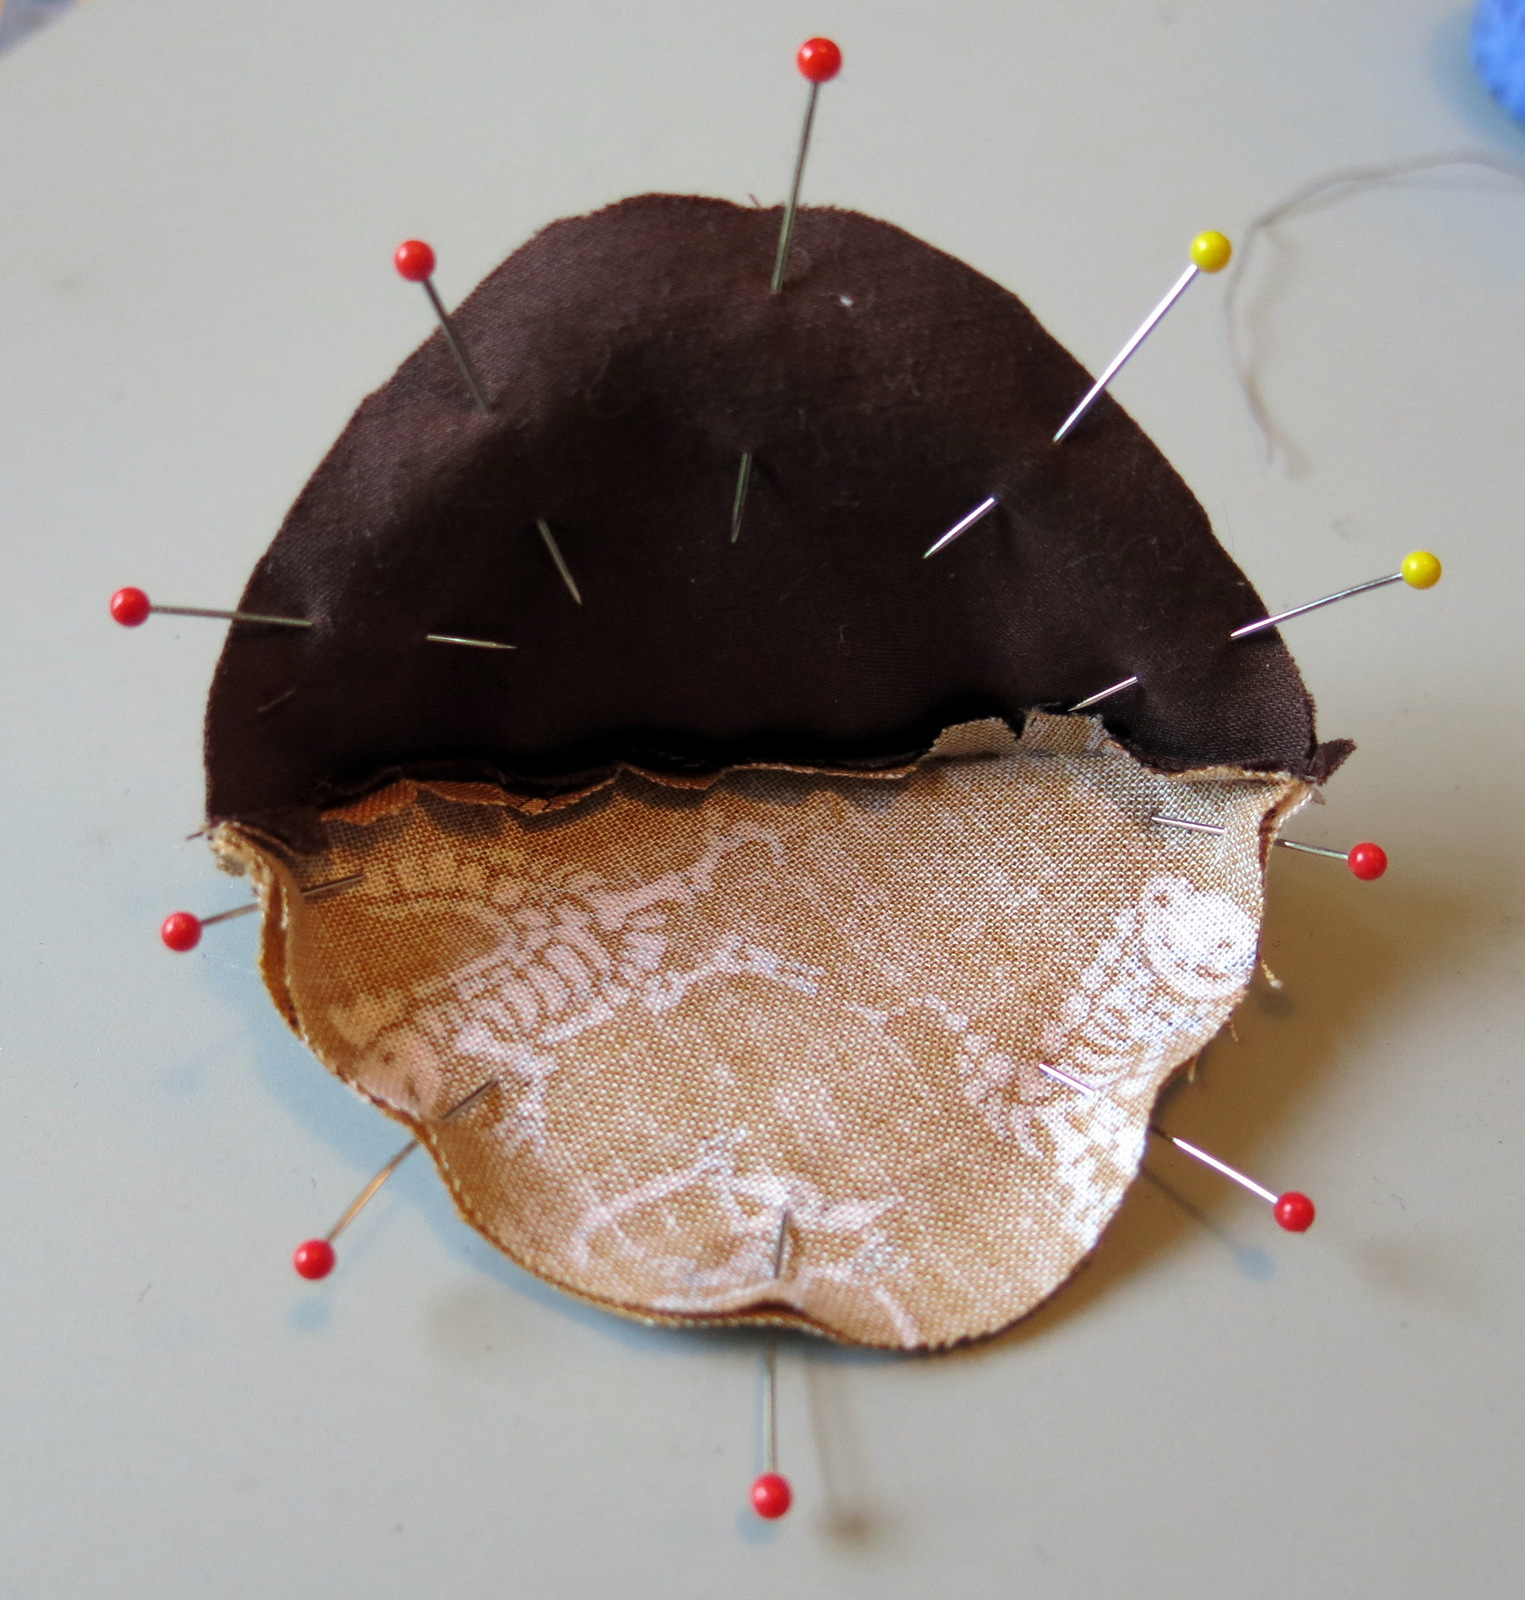
Pin
Here you can see you are going to stitch all round the circumference, leaving a space open to turn it right side out. I’ve marked that space between the two yellow pins.
.
.
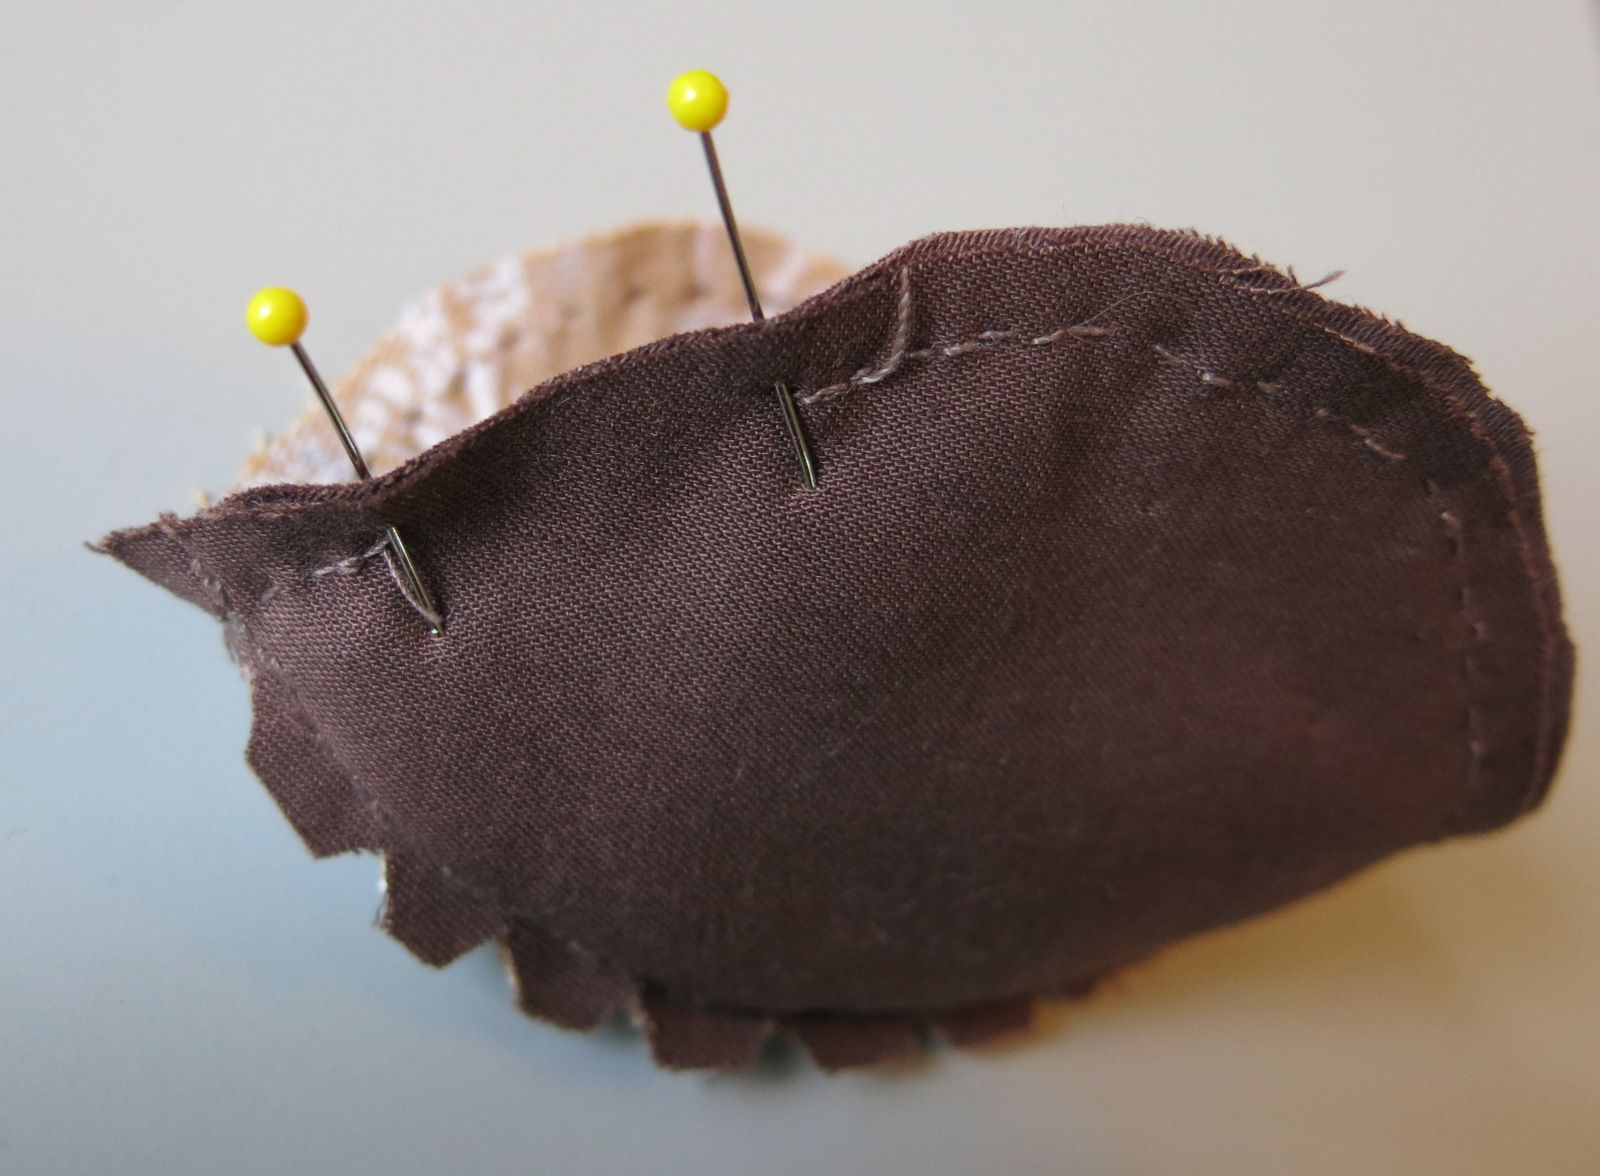
stitch round circumference
Make sure you leave the space for turning the hat right side out, and clip out triangles from all round the edges.
.
.
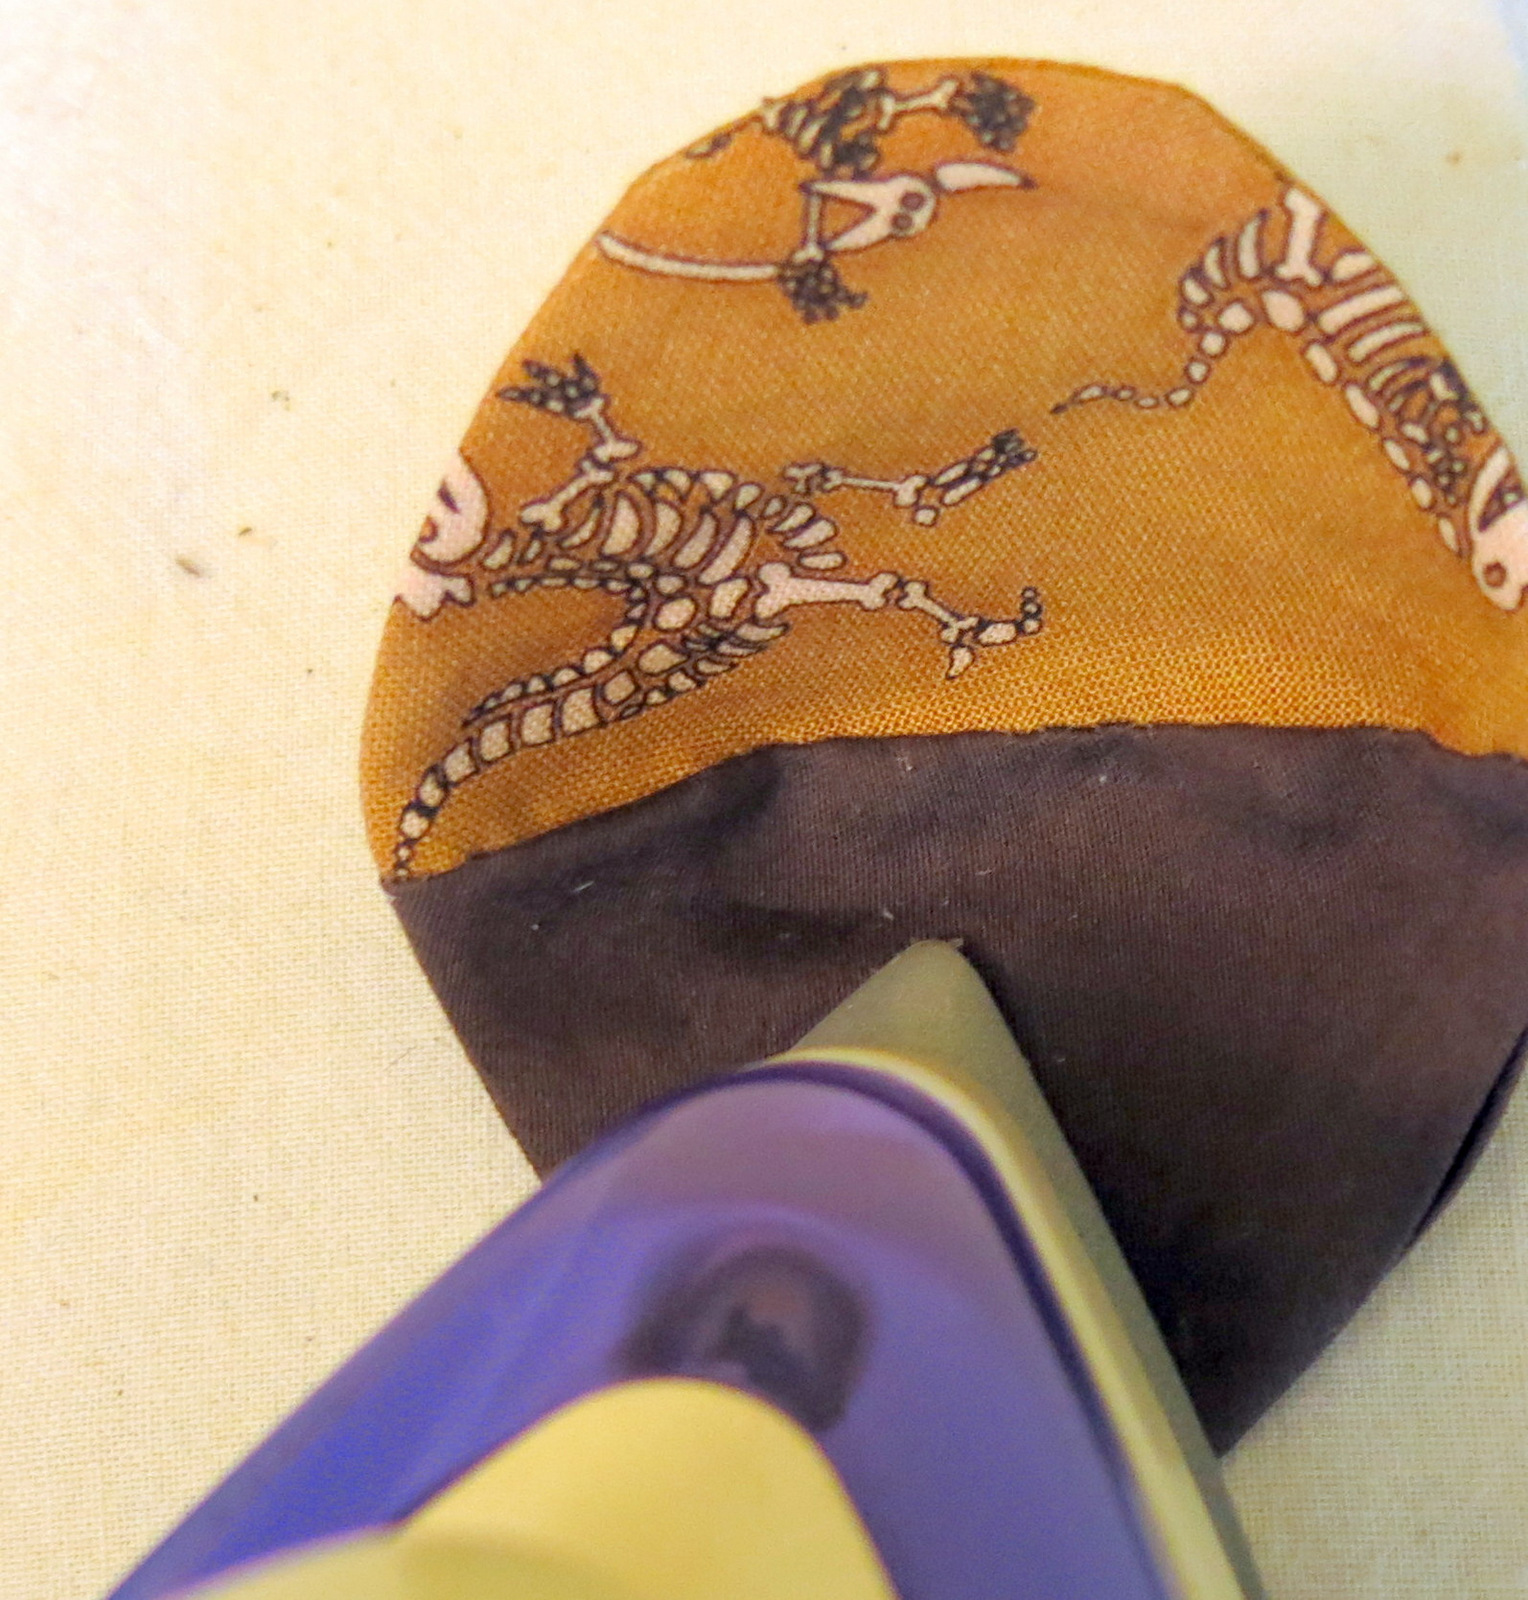
Press
Turn it right side out and press the edges.
.
.
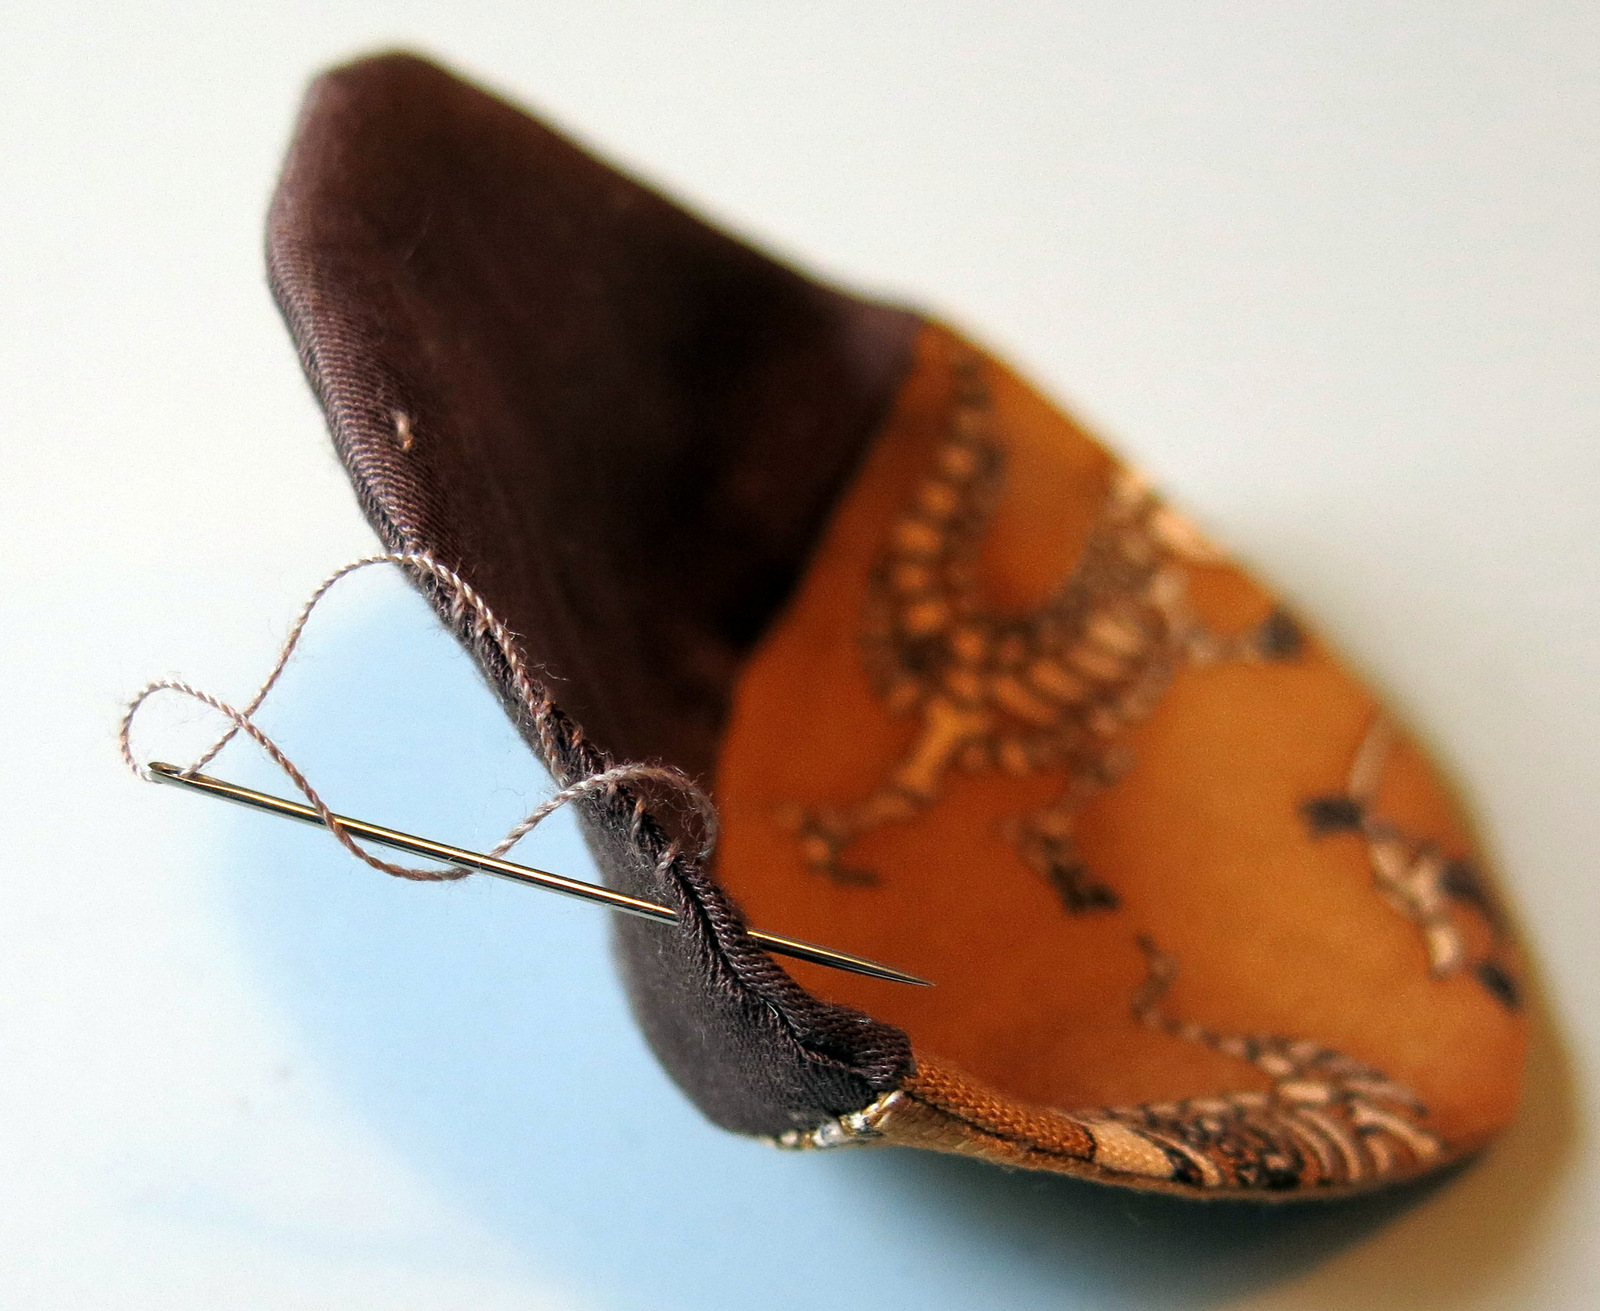
stitch up the gap
Stitch up the gap. Pinch the fabric/lining seams on opposite sides of the hat, and pull outwards then tuck the lining into the hat.
.
.
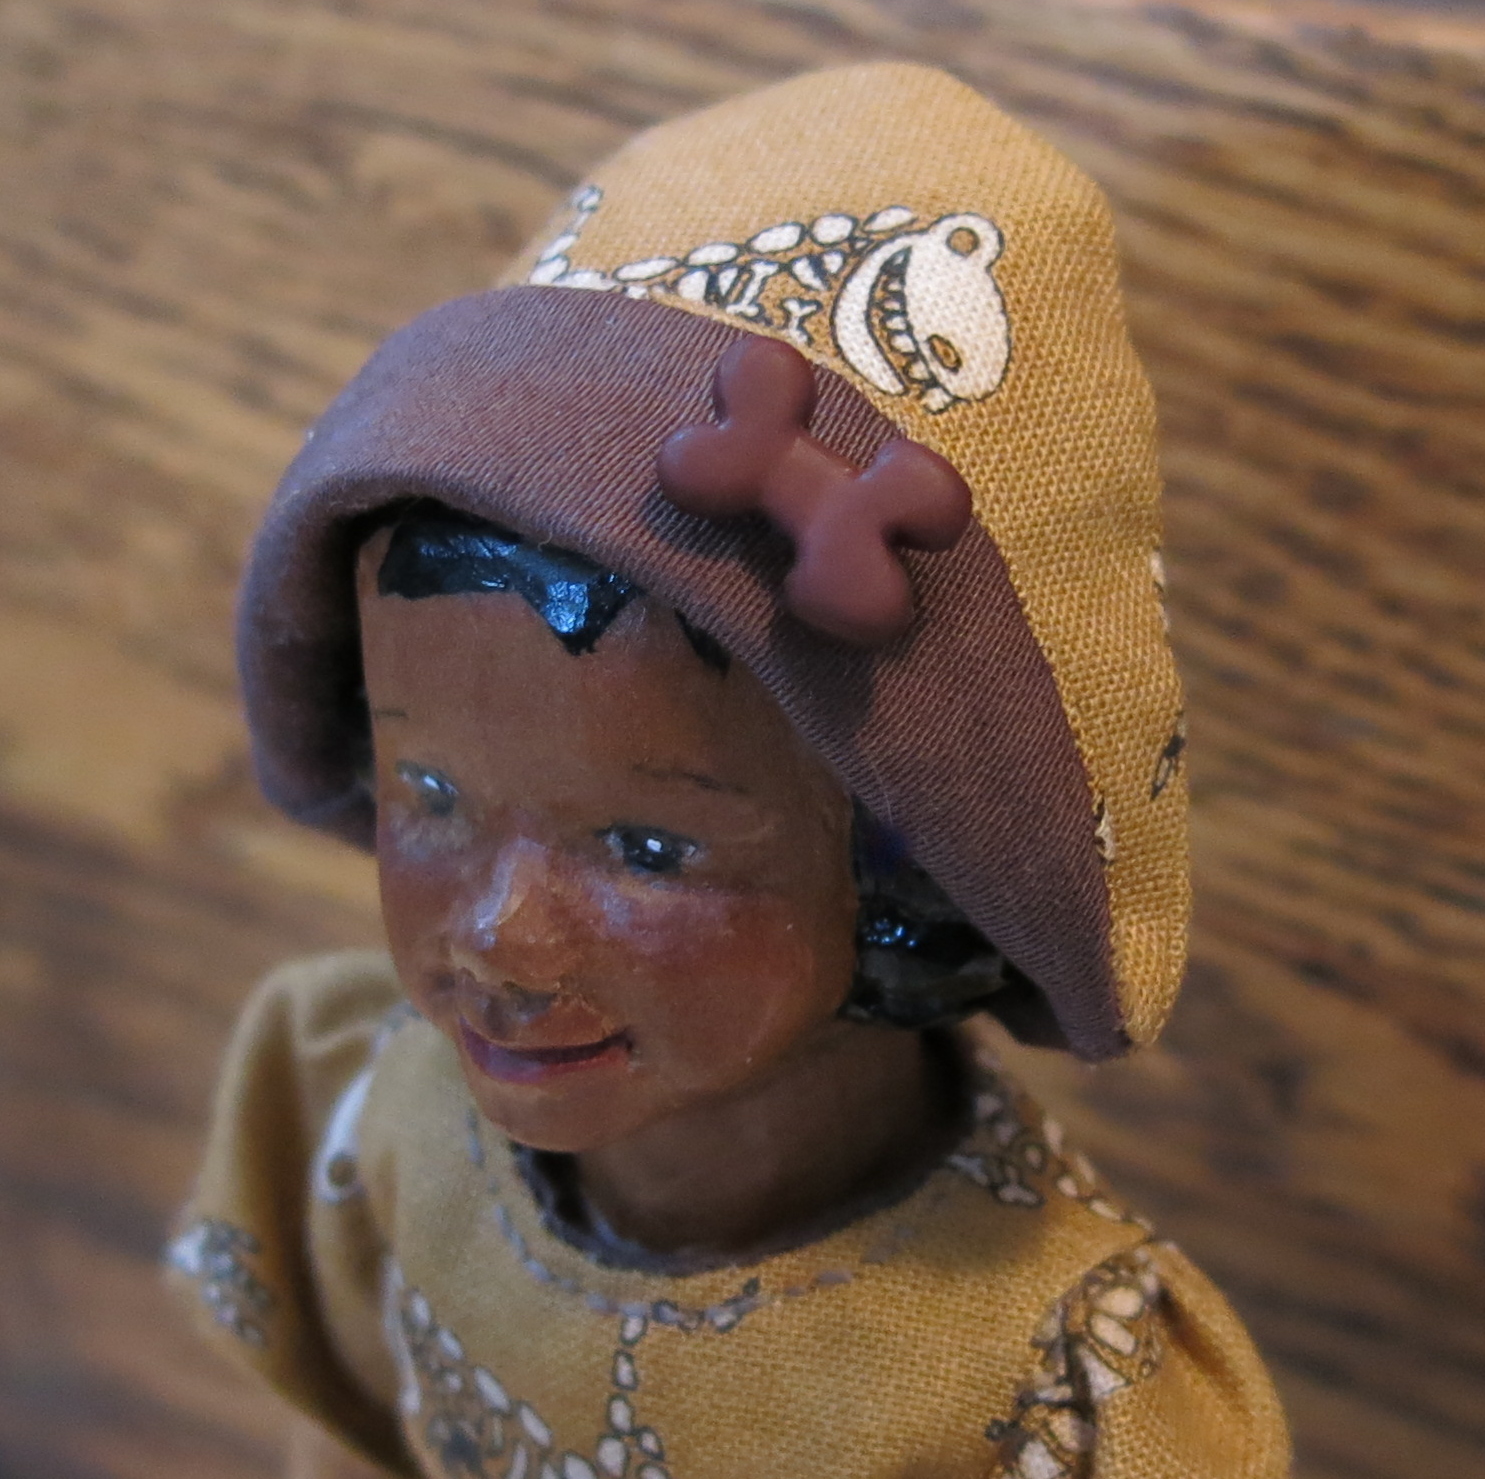
cute!
…Turn up the brim, and stitch a jaunty button on one side to look adorable and keep the brim in place. You can stitch ties to the corners if you like!
.
.

Effective and Charming
Agathe says you can put it on “sideways” too, for a more adventurous look, and it works just fine to keep sun off your nose…very useful when digging for bones in the sands of exotic places.
.
.


What a great little tutorial of this wonderful hat – must see if I can draft up a similar pattern. Although I think it will have to be used as a rain hat today!
They make great rain hats – but Oh Dear, I hope the Rose Cottage campers have somewhere dry to escape to.
QHittys and human, thank you!
You are so welcome! I hope all the Hittys keep dry, or are shaded from the sun as the case may be!
Thank you for this pattern. I am always on the lookout for hat patterns. Hitty Amelia has already selected the
fabric for her new hat. Great tutorial and photos. And of course Agathe is delightful!! Love her ensemble and that shovel!!
Hooray – Hitty hats for all! I hope Hitty Amelia will find it comfortable and useful!
So cute! I love the fabric.
Happy fossil hunting, Agathe!!!
It is cute fabric – a Hitty friend gave it to me, another Hitty friend gave me the hat from which I made the pattern, and a third Hitty friend gave me the bone-shaped button! Hitty friends are delightful!
Your tutorial is a miniature work of art – great photographs. Wouldn’t it be cute to make a matching hat for Hitty’s person? Guess you are out of scraps. 🙂
There were enough scraps to make a little skirt for Min, but I think that is about the end of the dinosaurs!
Oh! Love the hat…kind of peter pan-nish and the lovely bones fabric in the dress! So darn cute, but then you always have the cutest dresses!
We’re lucky in our fabric-hunting, and people give us nice scraps too. The dinosaur bones fabric came to us from a Hitty friend who thought that the Quimper Hittys would like some Museum-y clothes!