A Regency Dress 2

Sewing the waist seam right to left
I took some pictures of the sewing process just for fun. It isn’t a whole tailoring explanation this time, just the pictures that turned out. Here you can see that the fabric has a tendency to fray badly. I counter this by handling it as little as possible and taking small stitches (7 stitches/cm).
.
.

Overcasting the waist seam left to right
Nice even stitches attach the skirt to the bodice, and then little overcast stitches to keep the seam allowance from fraying away.
.
.

Tacking the waist seam in place – left to right
After pressing the waist seam it is tacked to the bodice lining. See how the skirt is completely flat at the front and gathered at the back to make a regency profile?
.
.
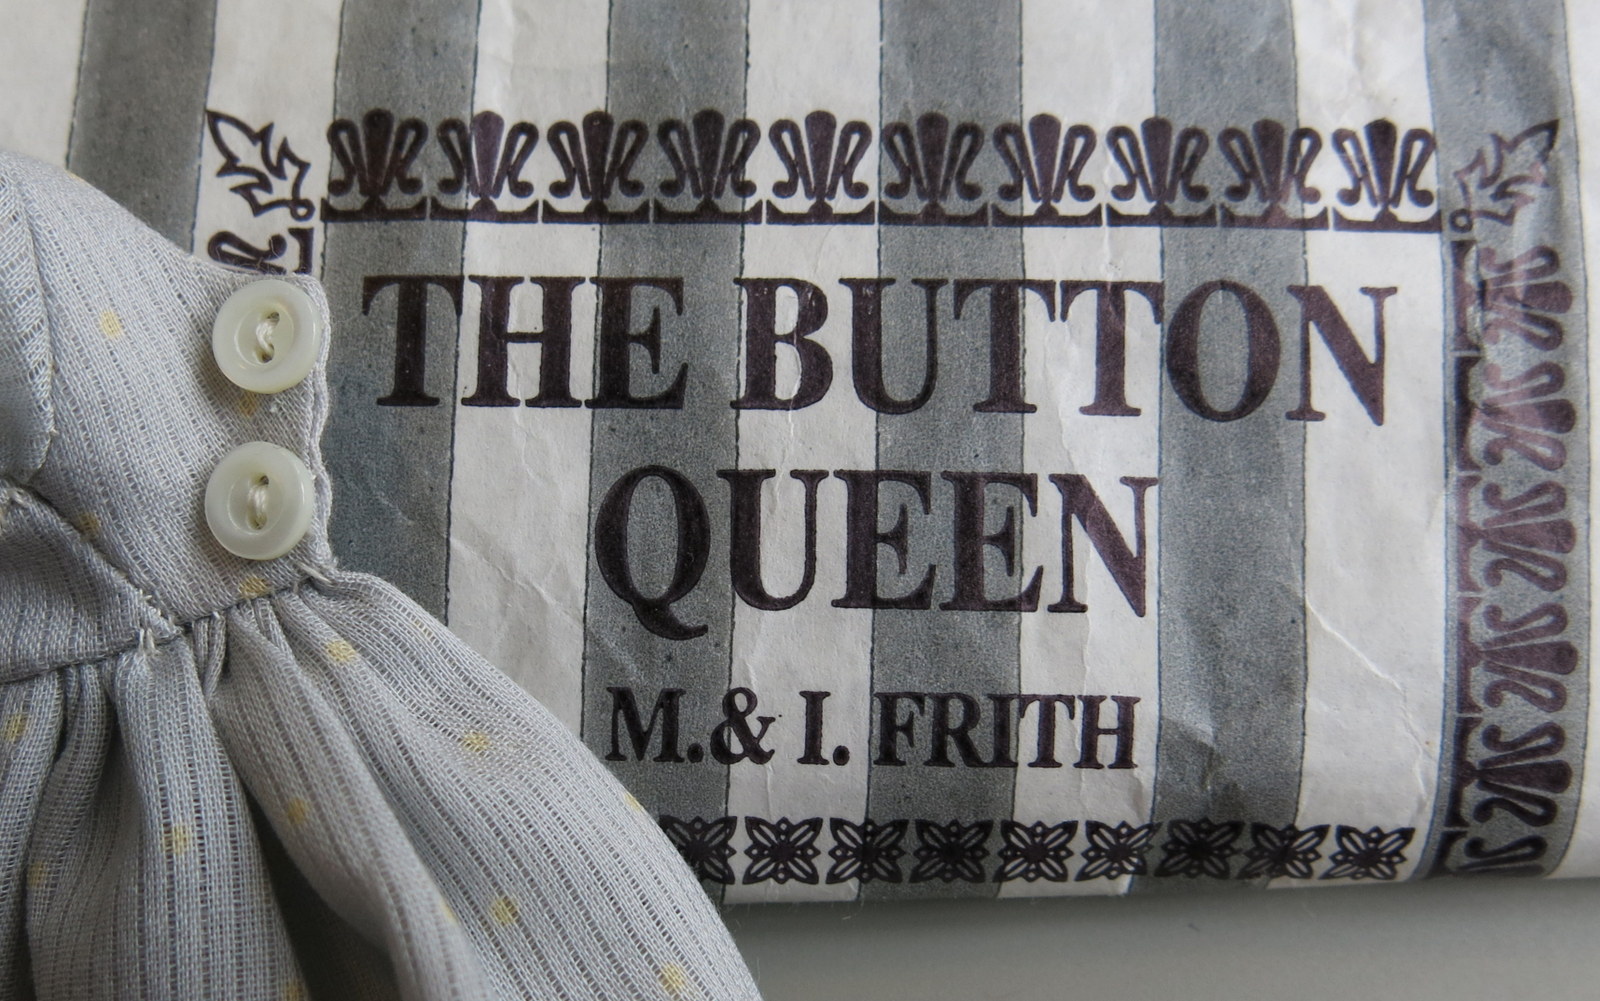
Only the best buttons!
My favourite button store of all time…click here for their website. You go into the tiny shop and flip through their binders. When you find what you like they go into the back stacks of boxes and count out the number of buttons you ask for. These are the smallest mother-of pearl buttons I have ever seen (.6 cm)!
.
.

Button Loops
My favourite way to make fastenings on doll clothes.
.
.
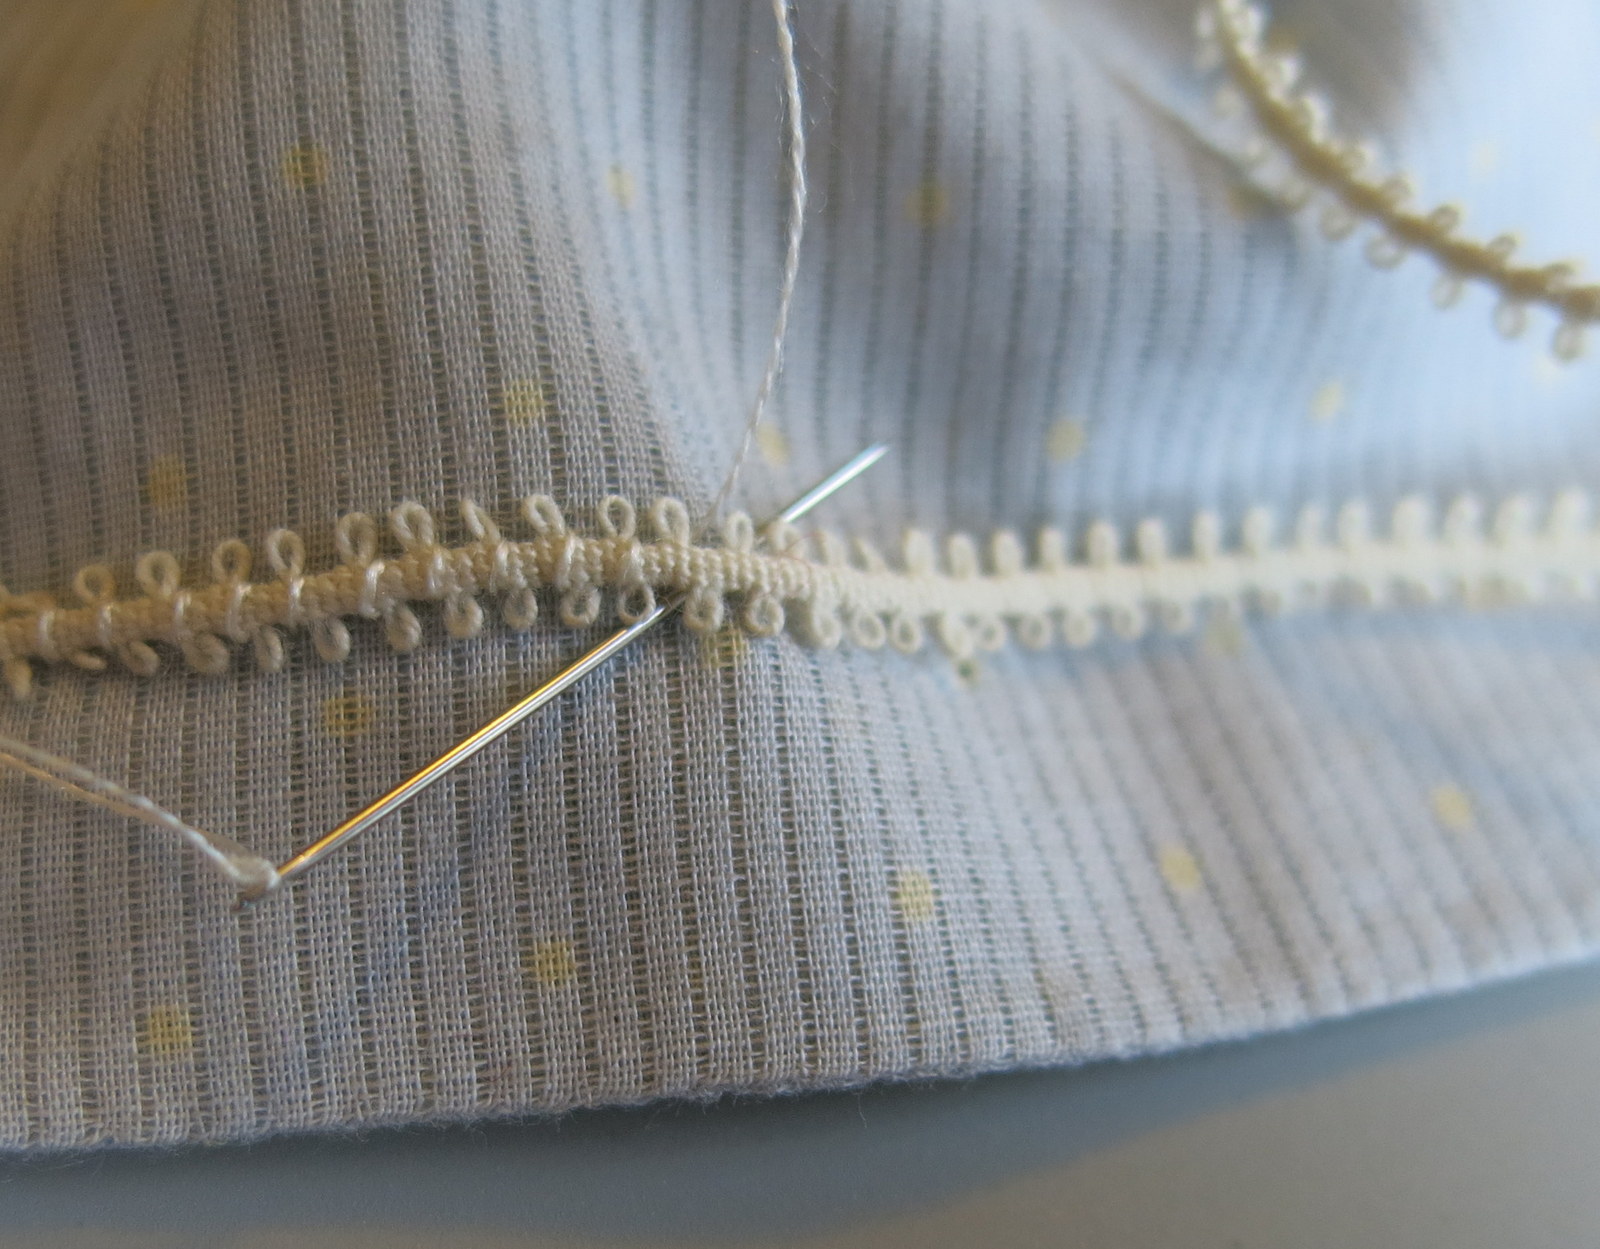
Stitching on the trim
I had just enough of this trim to make three dresses like this. It is a perfect scale for this dress.
.
.
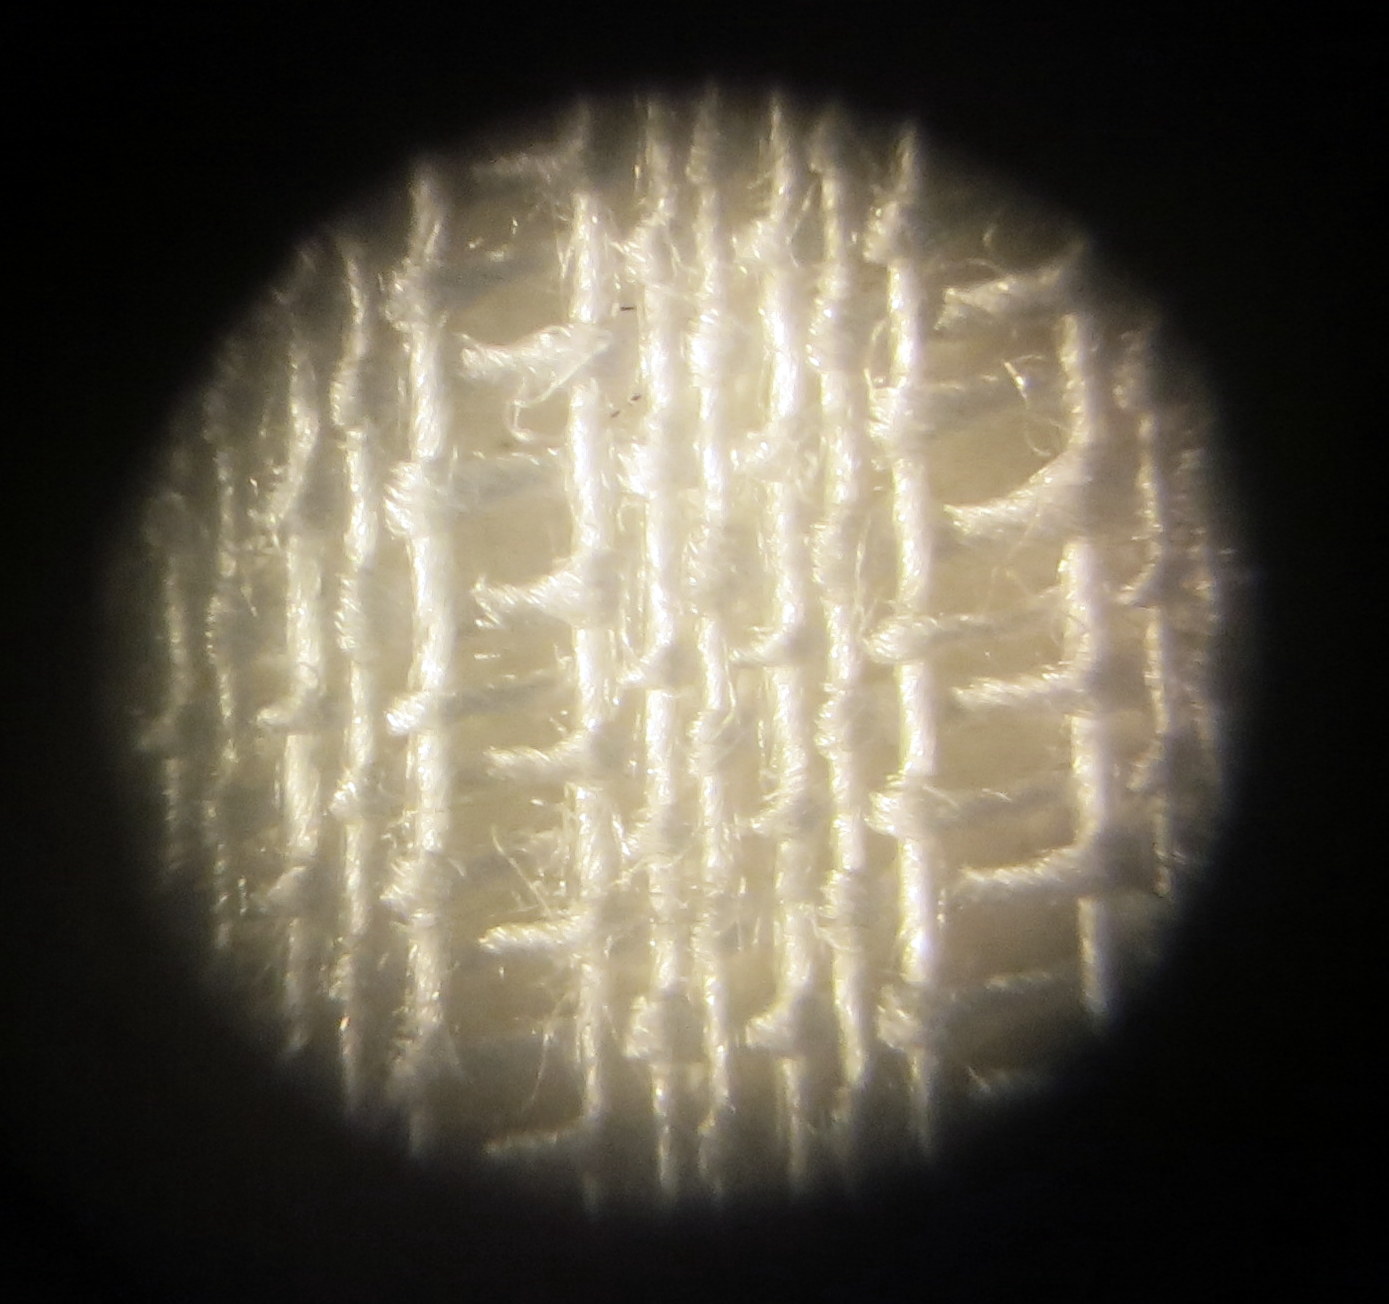
Microscopic view of the fabric
I had wondered if this was true gauze, but it isn’t. True gauze would be woven with the warps crossed in the places where you want to create the gaps in the fabric. From this very close-up view, you can see that the weave in this fabric is a plain weave (over one, under one) and gaps were probably created by leaving a space every six warps while threading the reed.
.
.
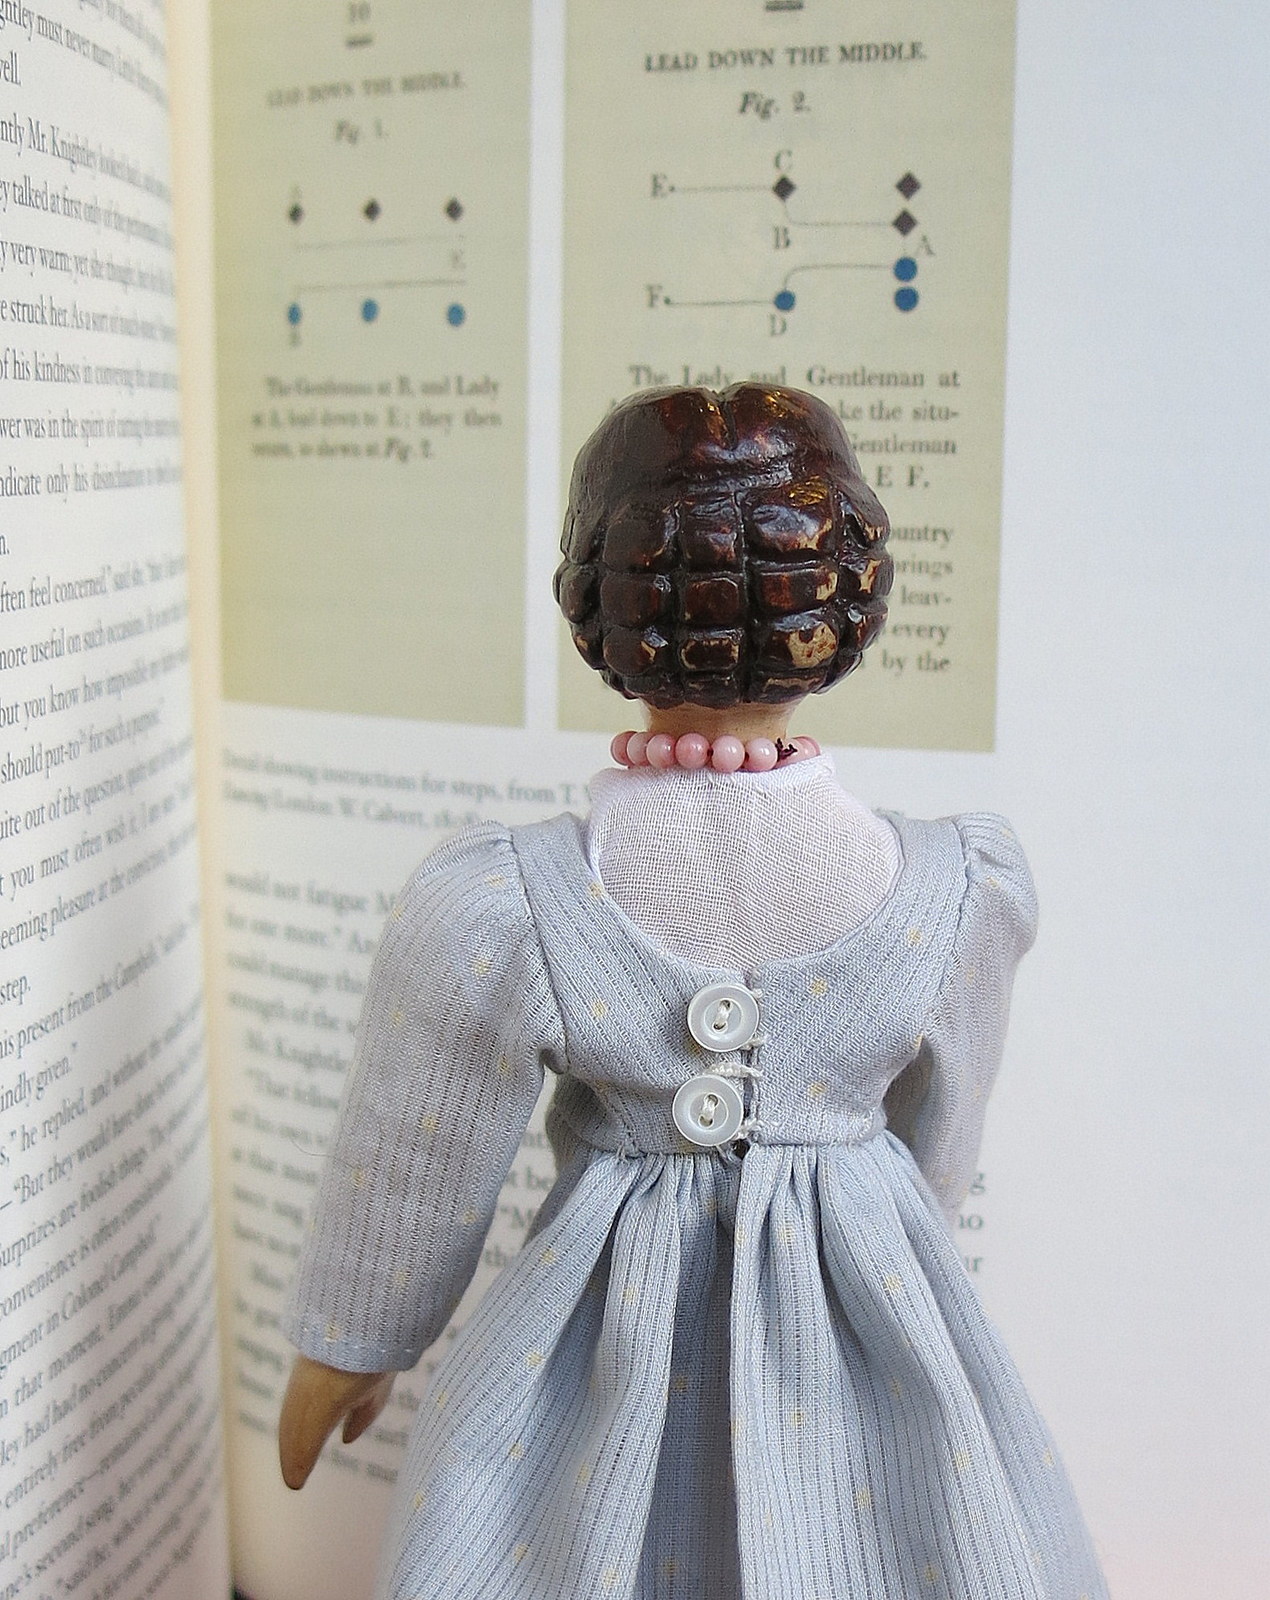
Constance studies dance steps
Back view of the completed Regency style dress.
.
.

Ready for an outing
Constance is wearing a fichu under her dress to keep her neck from getting cold. She gathers up her bonnet and off she goes…maybe there is a Frederick Wentworth out strolling in the laneways…
.
.
To see the first post about making this dress click here.
.
.


This is a very well put together instructional for the Regency Dress….thanks so very much Quimper Hittys! You’re always inspiring me to greater accomplishments….with a flair!
I am glad you are enjoying the Quimper Hittys Blog posts, we enjoy sharing the fun.
Fantabulous photos! I doubt that I have the patience to try to follow your instructions to sew a dress, but now I know where to find the answers to questions!
I love adapting human historical clothing techniques to Hitty sizes. My new camera takes great pictures – eh?
marvelous!! You make it seem so do-able!! But I know better!!! You are an artist with that needle. And the explanation of the weave was just icing on the cake. I hope Constance has a lovely stroll.
Constance loves to go for walks, she was quite a good companion on the Camino to Santiago (800 km!)
what immaculate hand-sewing!
Thanks – hand-sewing works best for me when making teeny things…those little seam allowances get eaten by my sewing machine.
Wow! Your hand sewing is fabulous! Beautiful outfit!
Thanks, Becca, I love to sew for the Quimper Hittys!
I love the close up pics! And the dress is beautiful too!
Thanks! The 20 X picture of the weave is taken with my camera pointing down the lens of a stereo microscope.
What a lovely little dress, and so intricately created! I really enjoyed this adventure with all the Hittys!
Yes, all the Hittys are clamouring for pretty frocks, especially since the sun has come out! This one was destined for Patience, but it didn’t fit her after all (Constance gloats).
absolutely perfect and the hat is a lovely finishing touch. The weave structure of the fabric is so simple but it is also why the fabric frays so easily – tricky for such tiny garments.
Thanks! We were quite proud of the hat!