Turquoise Raincoats
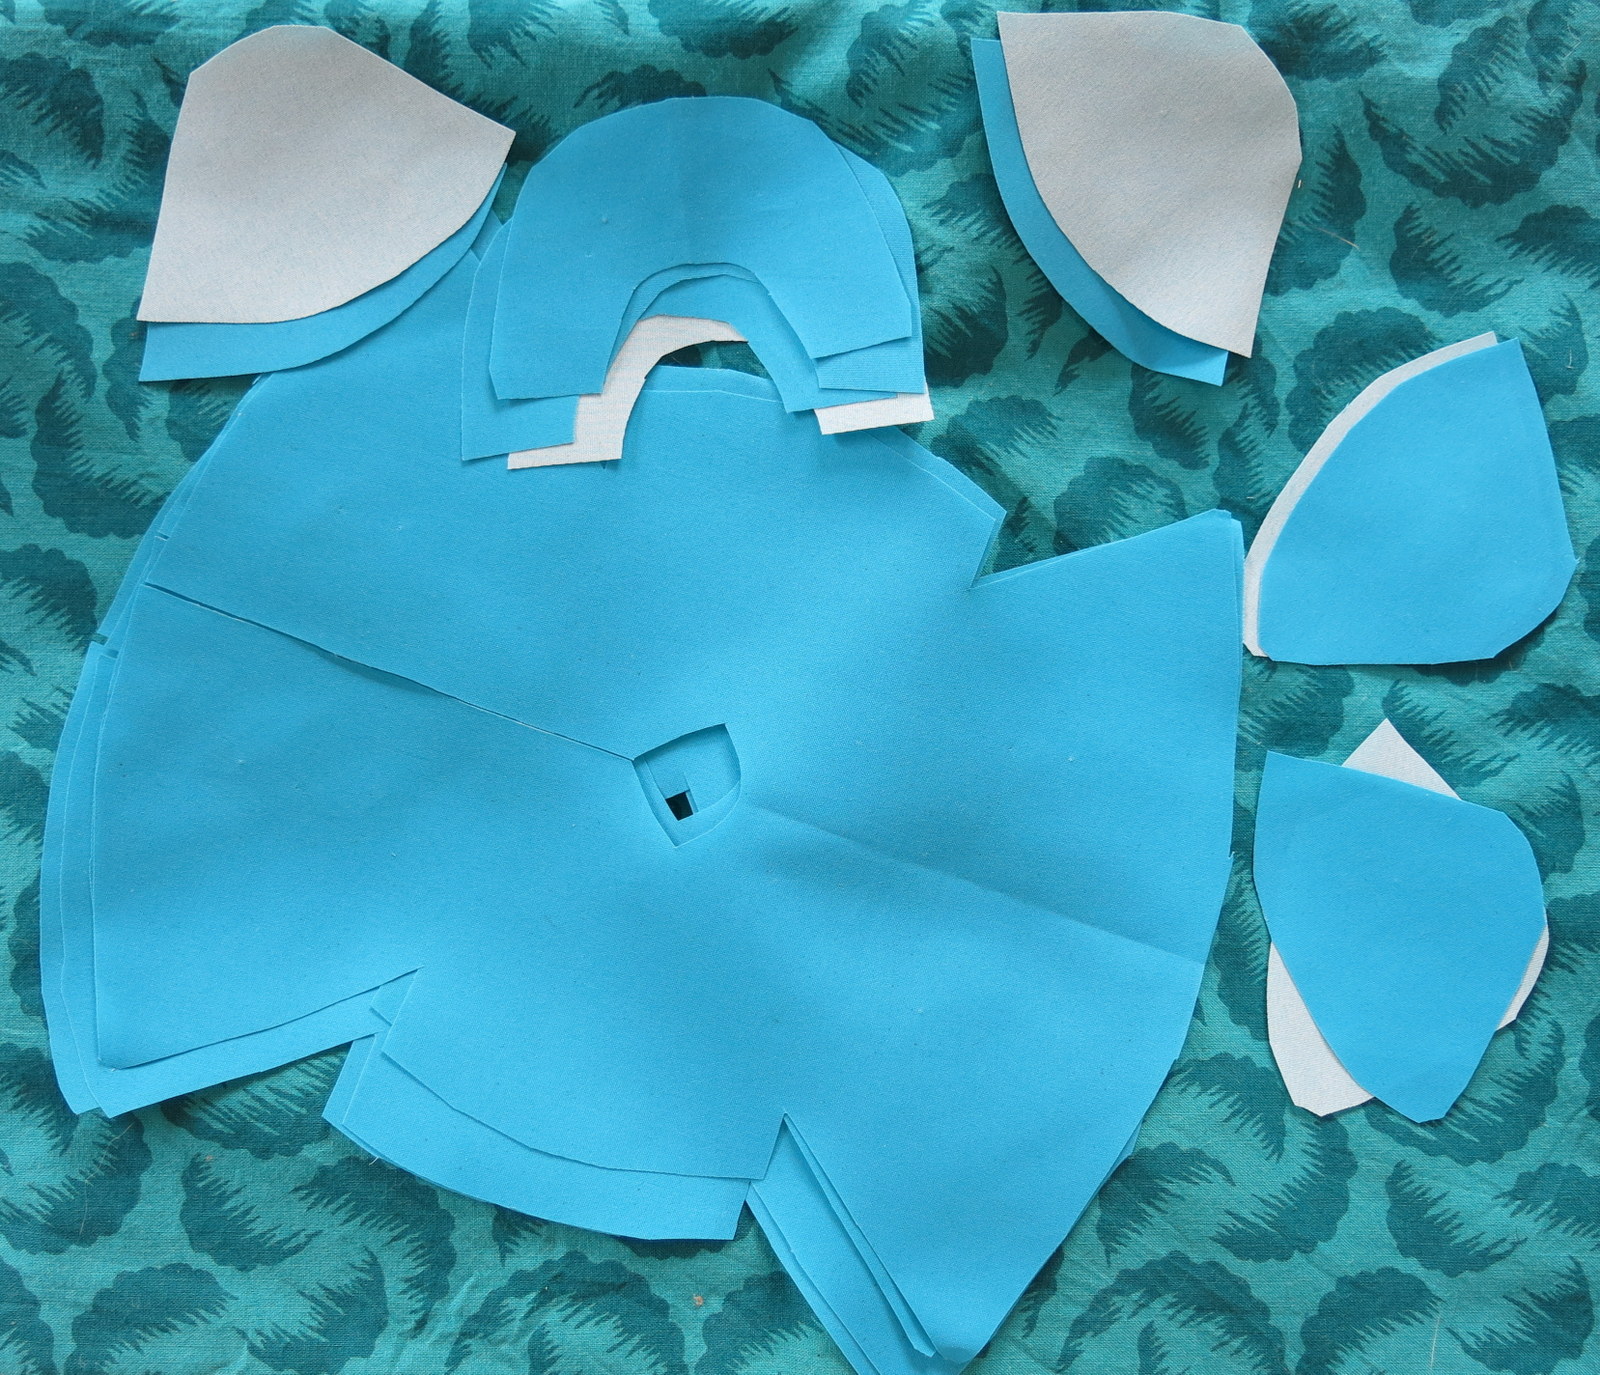
Snipped out coats
A friend suggested that I make Hitty raincoats out of some printed nylon street banners that were on their way to the discard bin… I was able to salvage four Hitty coats worth of beautiful turquoise fabric, and took some pictures of the process of sewing them into raincoats…The pattern is based on “Pauline’s felt coat pattern” available for free on the Hittygirls.com website. I modified that pattern by lengthening the sleeves and adding a collar. And I made a little matching hat.
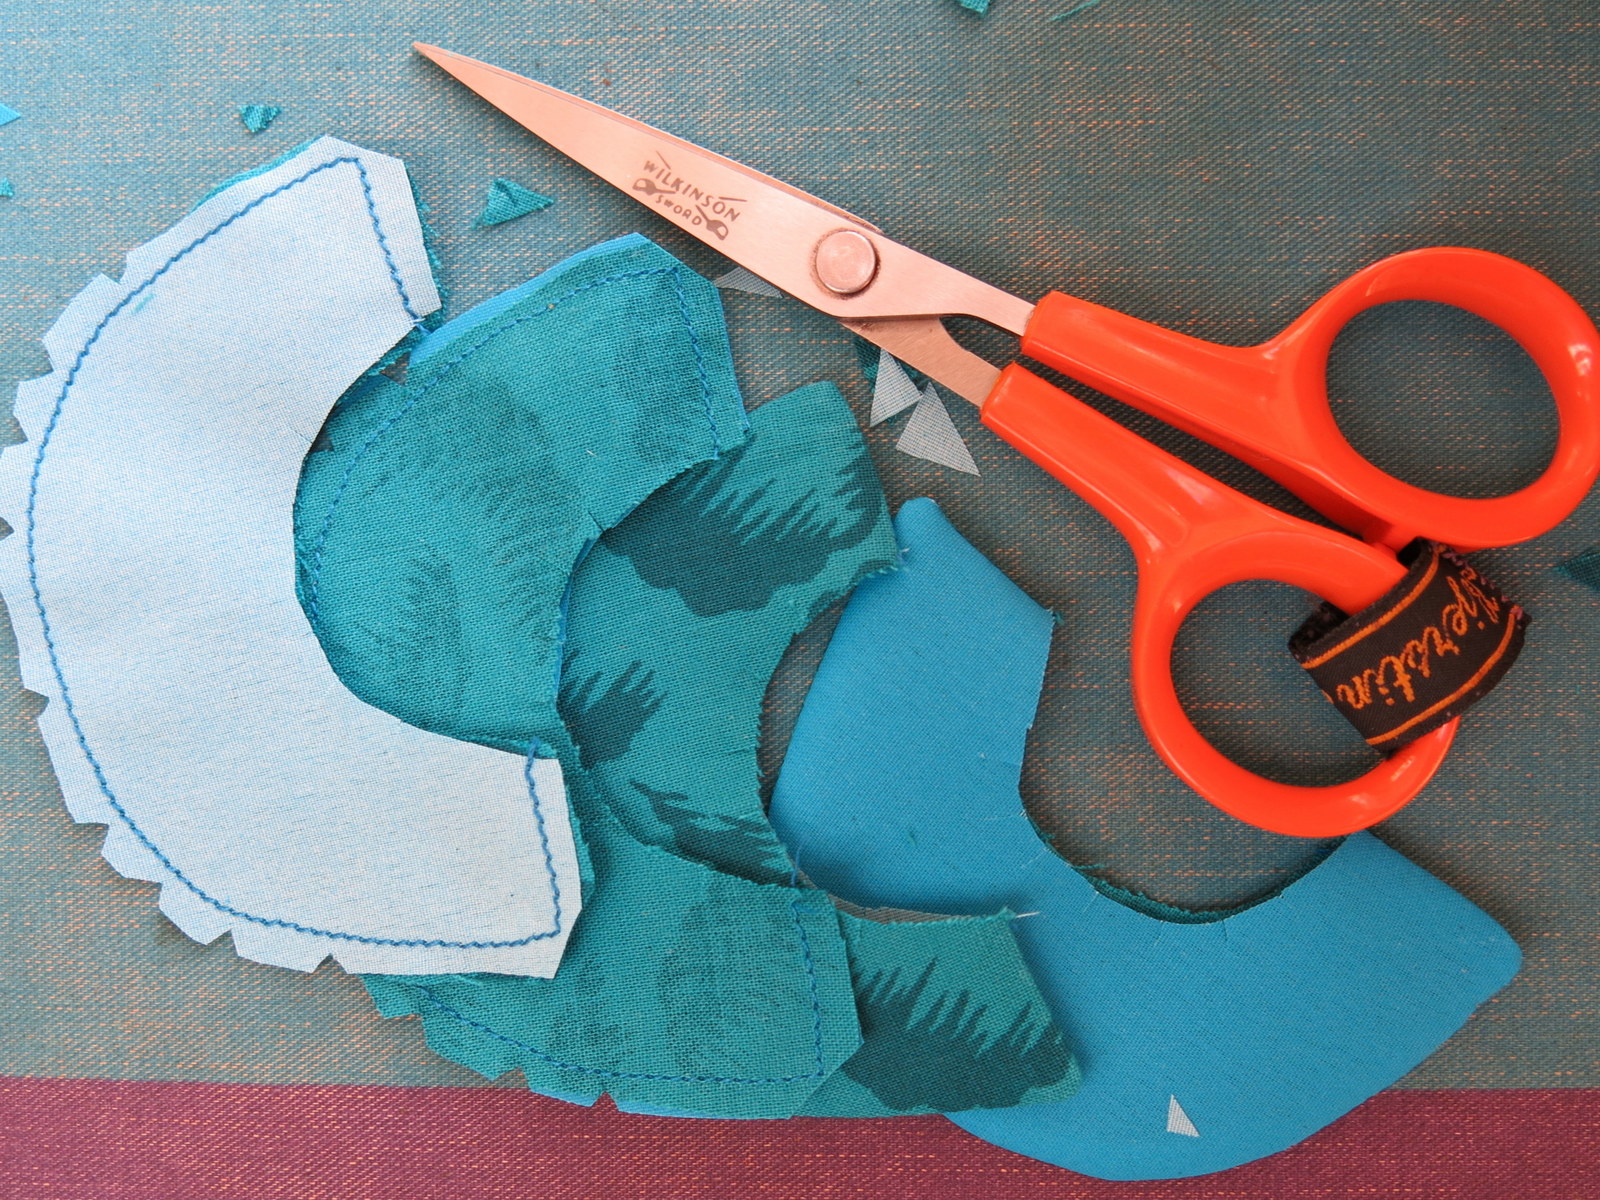
Collar stitching
The first thing I did was sew the collars to the collar linings…
.
.
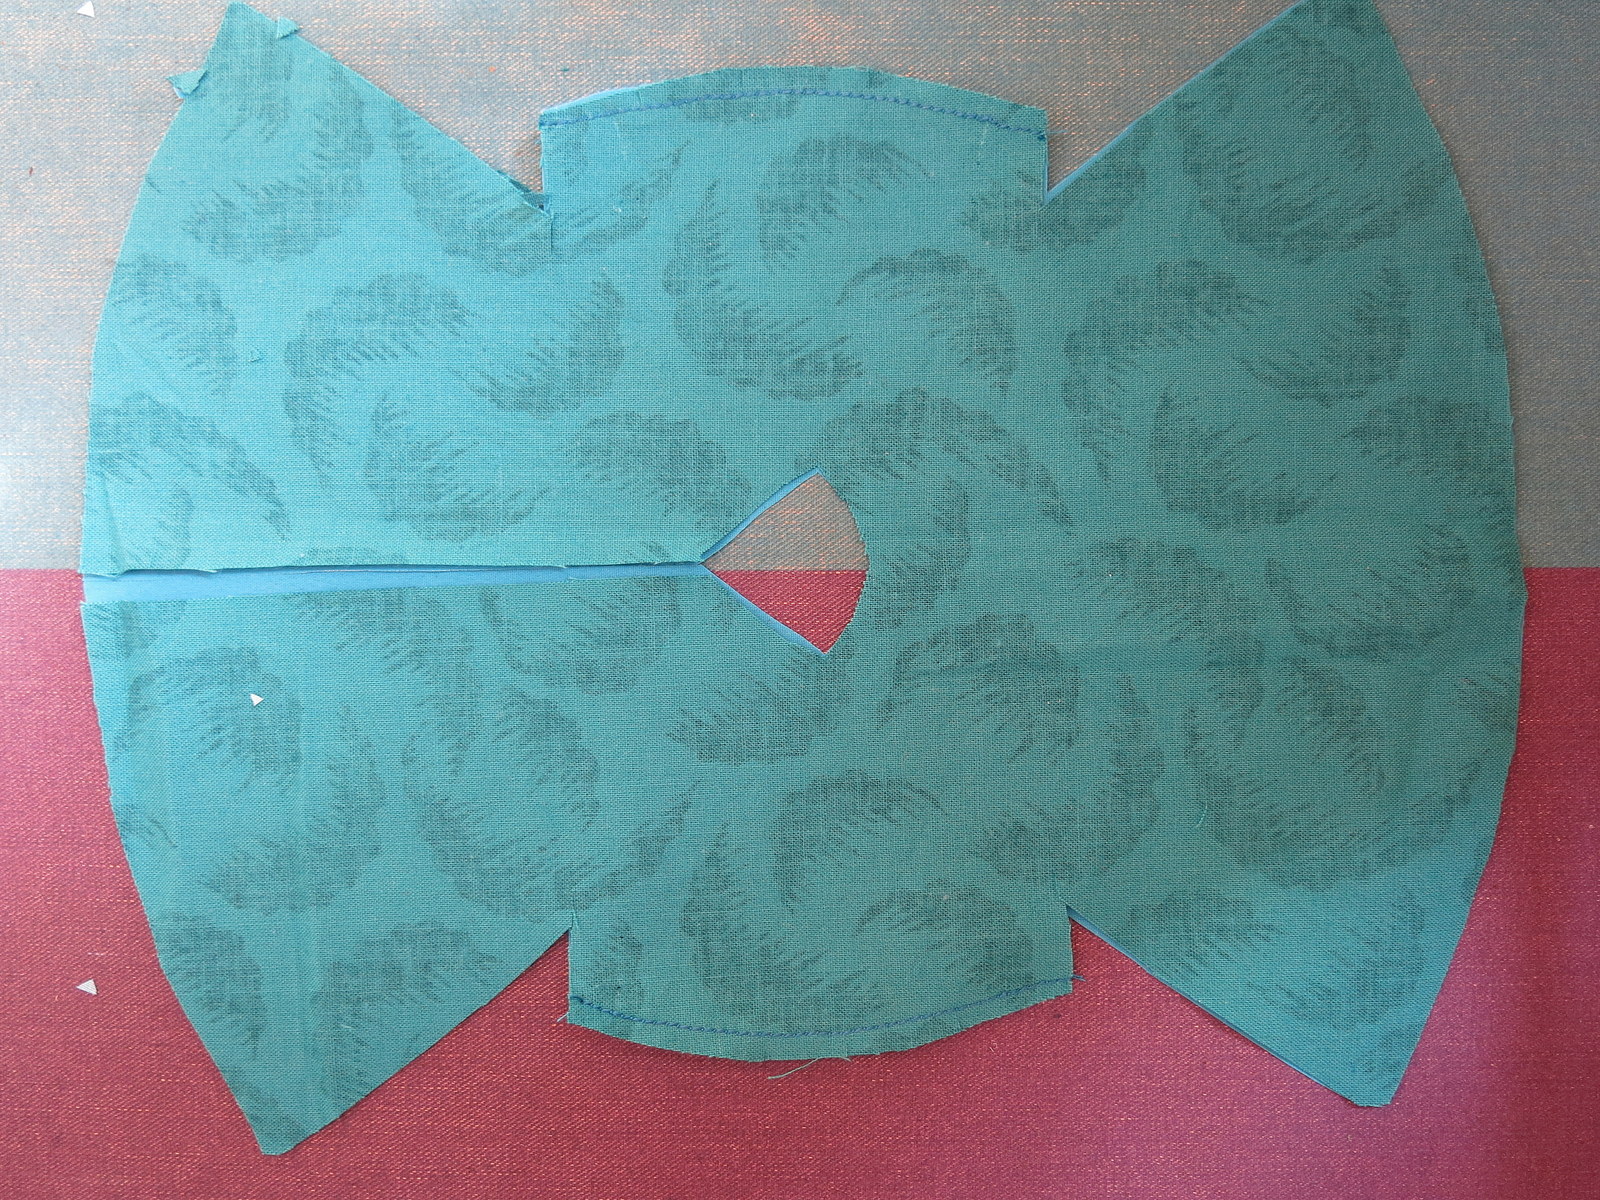
Sleeve Edges
Then stitched the sleeve edges…
.
.

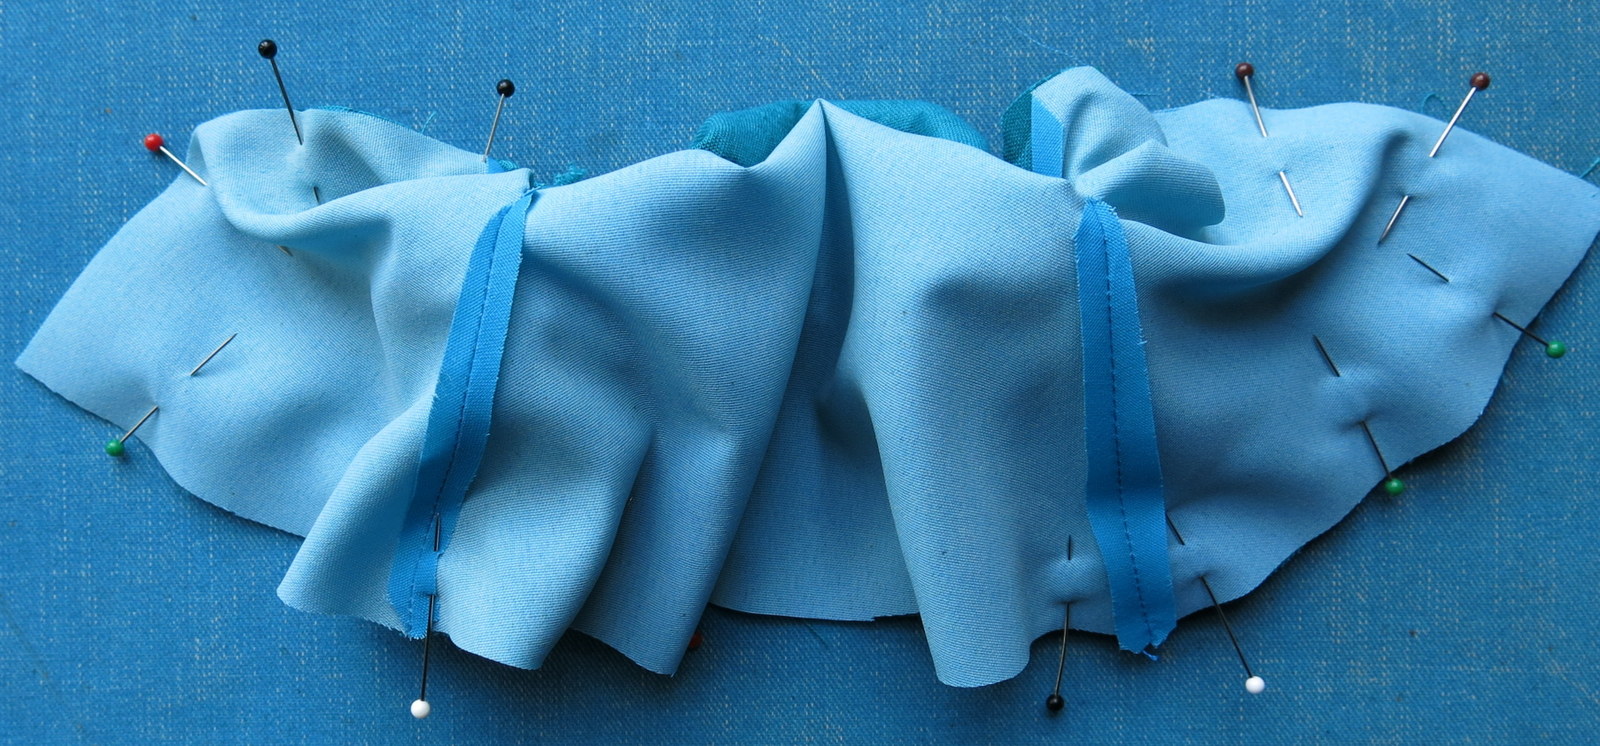
Underarm and sleeve seam pinning
Then sewed raincoat fabric to raincoat fabric, and lining to lining at the sides and under the arm, here it is pinned and ready to stitch.
.
.
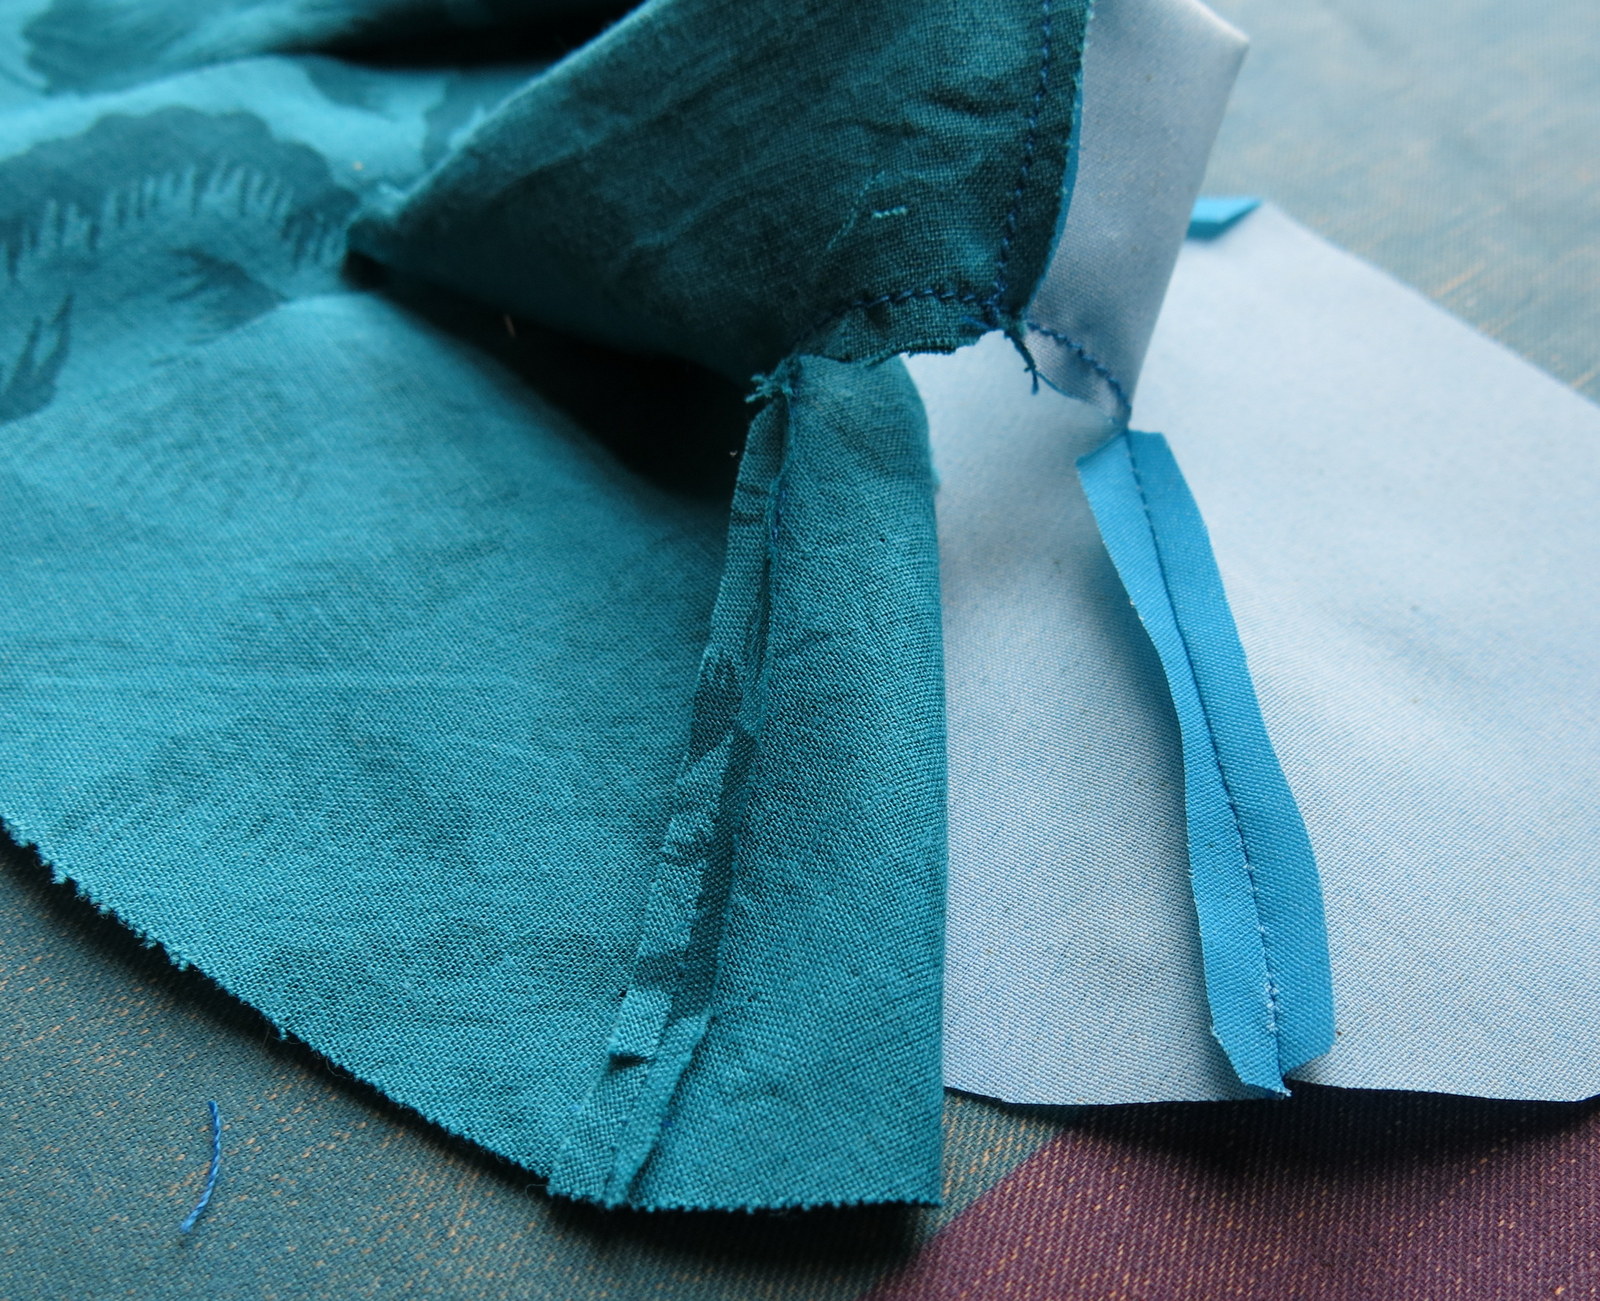
Underarm and sleeve seam pressing
And here it is stitched and pressed. I was sure to clip into the corner so it would turn easily.
.
.

Pulling the lining inside
Then, sticking my thumb into the raincoat sleeve fabric I pulled the lining ever so slightly into the sleeve – now it already looks like a raincoat!
.
.
Sewing the outside edge
This bit is tricky, you have to flip the sleeves to the inside and pin the lining to the coat inside out! It looked like a real lumpy mess at this point but I did not despair! I sewed all round the outside edge EXCEPT in the collar area.
.
.

Collar pinning
When the outside edge seam was stitched, I clipped the curves and snipped the corners. Then I reached into the collar area and grabbed the sleeves and pulled them out through the neck, the rest of the coat followed out too! After pressing the coat flat, I pinned both layers of the collar to the lining fabric at the neck hole, leaving the raincoat fabric free. Then stitched through both layers of collar, and the coat lining.
.
.
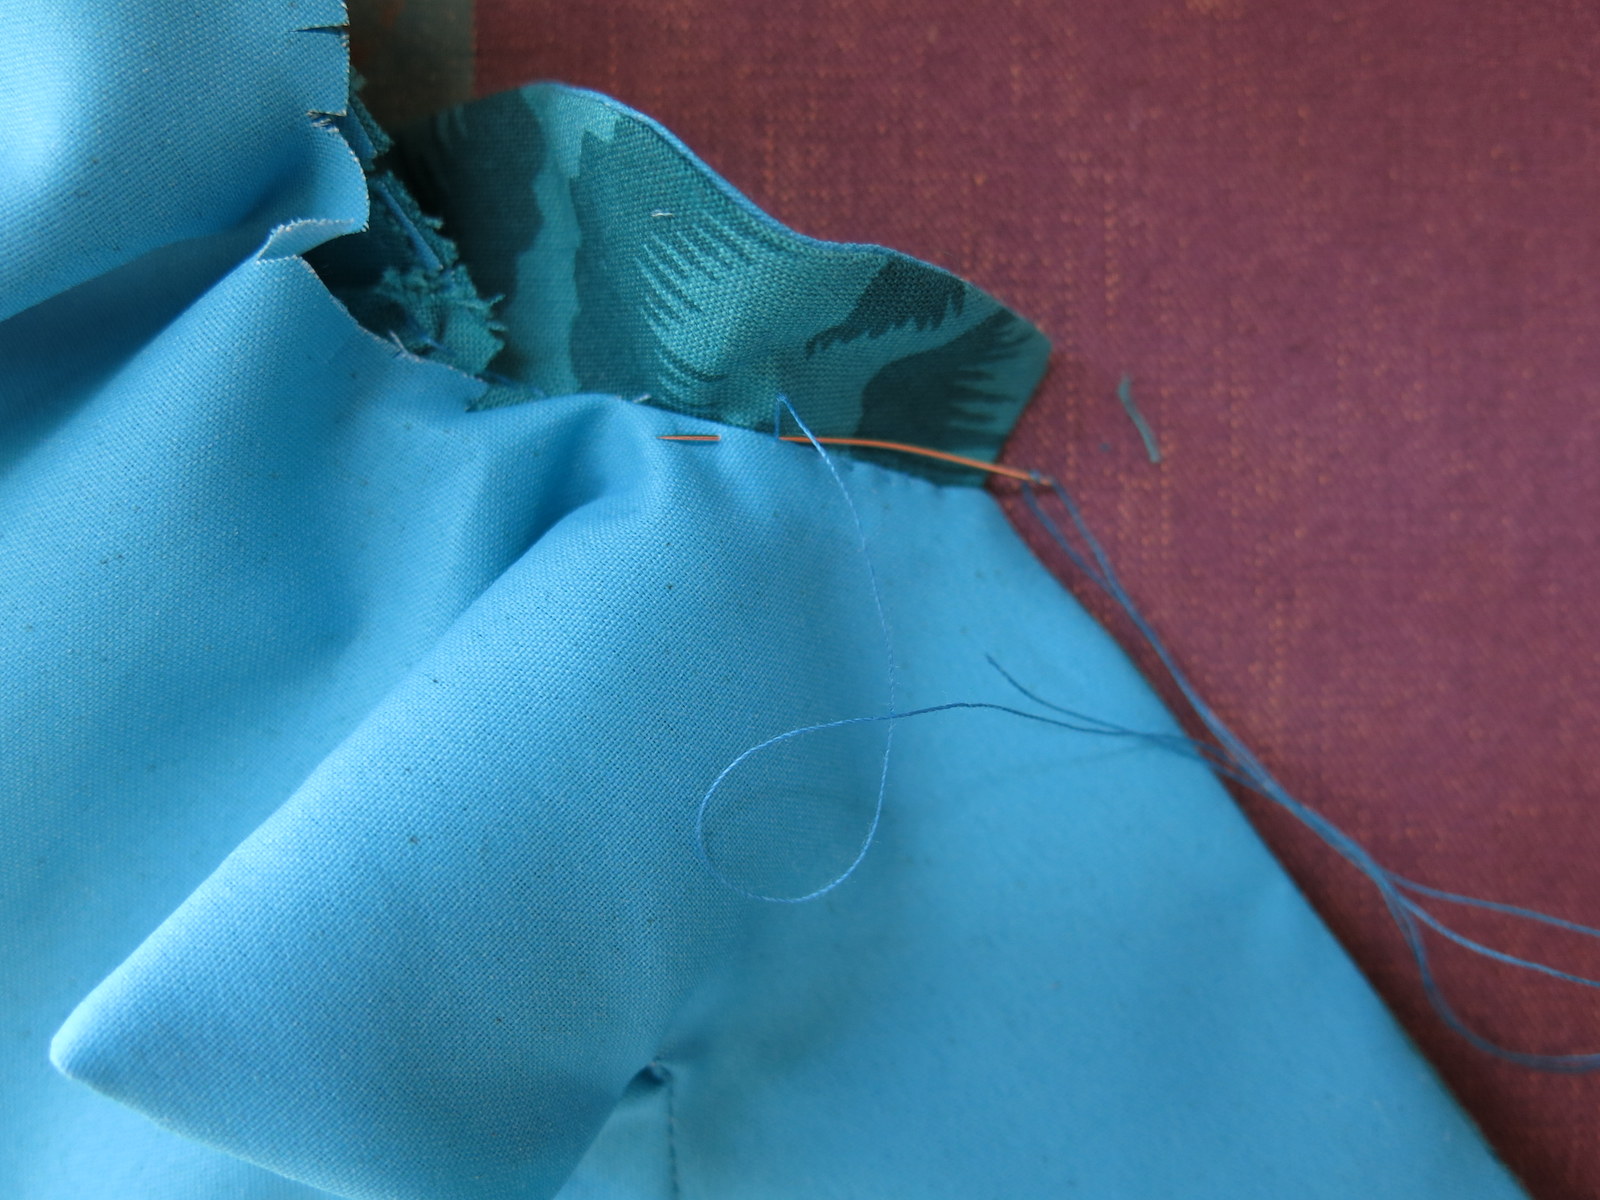
Collar Stitching
Hand-sewing the collar lining to the raincoat fabric on the outside is the last step, other than adding a button and buttonhole.
.
.

Turquoise Resplendence


Linnea sure is lucky to be kept dry in such splendour. I wonder if she is thinking about how nice the coat would be reversed, for dry days.
It could be reversible if it is neatly enough sewn, and if you used snaps.
You’ve left no seams undone or directions unfinished! We all should be blooming with raincoats with this clearly presented and also lovely, little outerwear instructional. Thank you! It’s so wonderful to be prepared for the showers that be.
Little raincoats are nice and quick!
The lining is gorgeous too. It looks like rain clouds! Thanks for the tutorial. I want to try it one of these days when all is calm around here. Ha!
I thought the lining looked like rain clouds too!
I love your tutorials, I think you should do more! You have so much knowledge in your brain, I’m sure others would love to know some of your years worth of tricks.
Some of my tricks work and some don’t…If I post more tutorials I promise they will only be the ones that work!
your directions and photos are SO clear that you make even ME believe she could make one of these coats.
Great tutorial!
Give it a try! The Hittys are in favour of friends staying dry!
What a charming raincoat! Linnea looks darling!
That fabric works really well doesn’t it?
Terrific project, well documented! I really enjoyed this one! It’s definitely been very rainy lately, everyone needs to have a good raincoat!
Yes, a bright new raincoat almost makes it seem like spring!
💜