Spring Bonnet
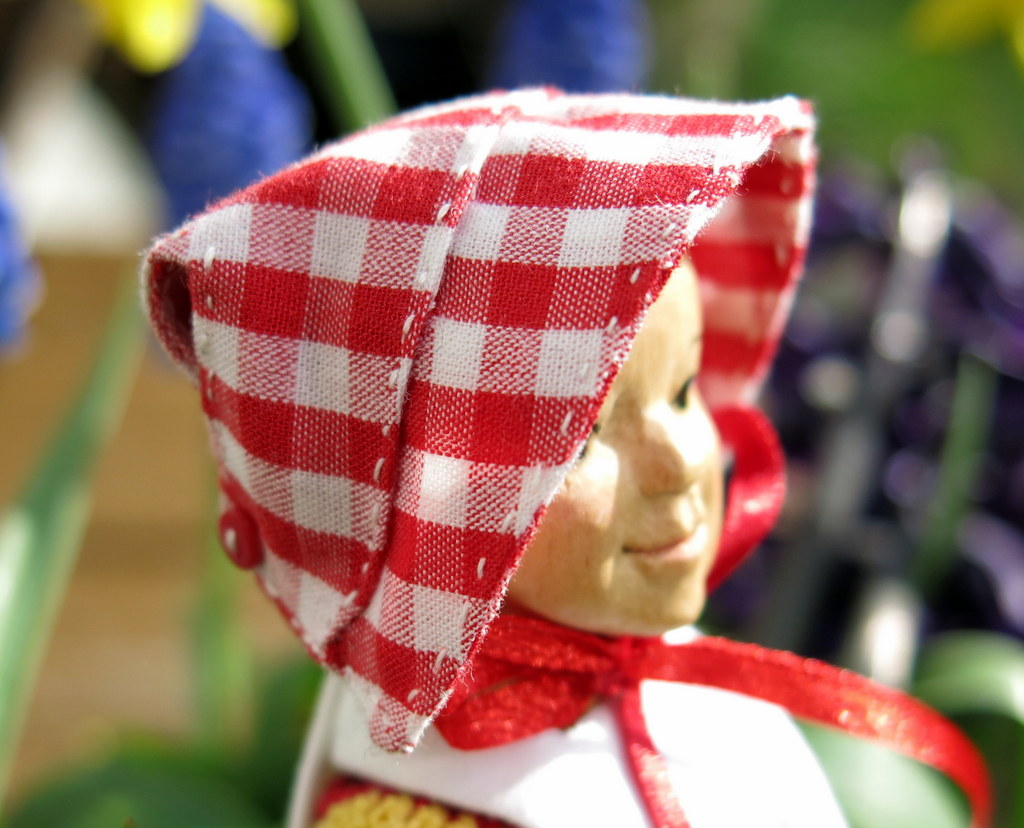
A Happy Girl
Aurelia has a new gingham bonnet…
The construction method is described below – to see larger images of the pictures and the text, click on any picture and then use the arrows to navigate forward or backward through the gallery.
-
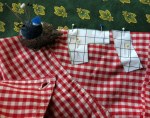
- Find some gingham – I cut up a (worn out) shirt! The pattern pieces are made on squared paper where the squares are half an inch (1.2 cm) a side. Place pieces on a fold and cut two of each. Sew with 1/8 inch seam.
-

- The “T” shape is the crown, the curved shape is the brim…Stitch the two crown pieces together along every straight edge, then clip into inner corners and trim the outer corners. Stitch the brim pieces together along the longer curved edge and the two straight edges.
-
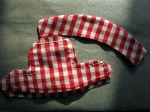
- On the crown, fold up one seam allowance on the unstitched curved edge, and press. Then turn the rest right side out and press flat. Turn and press the brim.
-
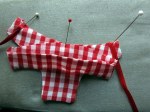
- Pin ribbon ties to the raw edge of the brim near the corners. Pin both raw edges of the brim to the one raw edge of the crown.
-

- Stitch along this edge through all three layers, and taking a couple of extra stitches through the ties. Press the seam towards the crown.
-
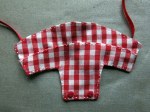
- Drop the folded edge of the crown over the raw stitched edge, and topstitch this seam, continuing topstitching round all edges. The original has buttons stitched in place where the red buttons placed are on this picture, and buttonholes at the sides of the crown.
-
- For this Hitty bonnet, I just stitched it all together and didn’t make buttonholes!
-
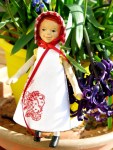
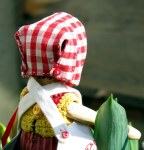
- Perfect for picking spring flowers!
Thank you to the Hitty friend who provided the original “Danish Child’s Bonnet” pattern from 1951! It unbuttons for washing and pressing – very handy!


adorable and so clever.
I love patterns like these, simple and practical.
I haven’t seen a bonnet like this one. It’s so vintage looking. ( I love vintage) The buttons on the back are great. Aurelia, looks so happy in her beautiful new jumper too…another masterpiece…
I have baby doll-clothes patterns from the sixties with almost the exact same bonnet pattern, so I think it must have been one of those patterns that was around.
Delightful! The new bonnet suits Aurelia perfectly!
I think so too! She is ready to go out in the sun as soon as it makes a reappearance!
that is a charming bonnet. I love making cloth bonnets and will give this one a try. I have made something similar but this is even cuter!
I like this pattern too, and though it took a bit of fiddling, I am glad I persevered and came up with a cute bonnet for a Hitty-sized head!
Very nicely done and your generous tutorial is appreciated. Aurelia makes a lovely model and we rejoice that there are Spring flowers to begin picking!
I often find pictures are easier for me to understand than descriptions, so I was happy to photograph the process in case it was the same for anyone else.